When it comes to beauty and wellness, nature often holds the most powerful solutions!
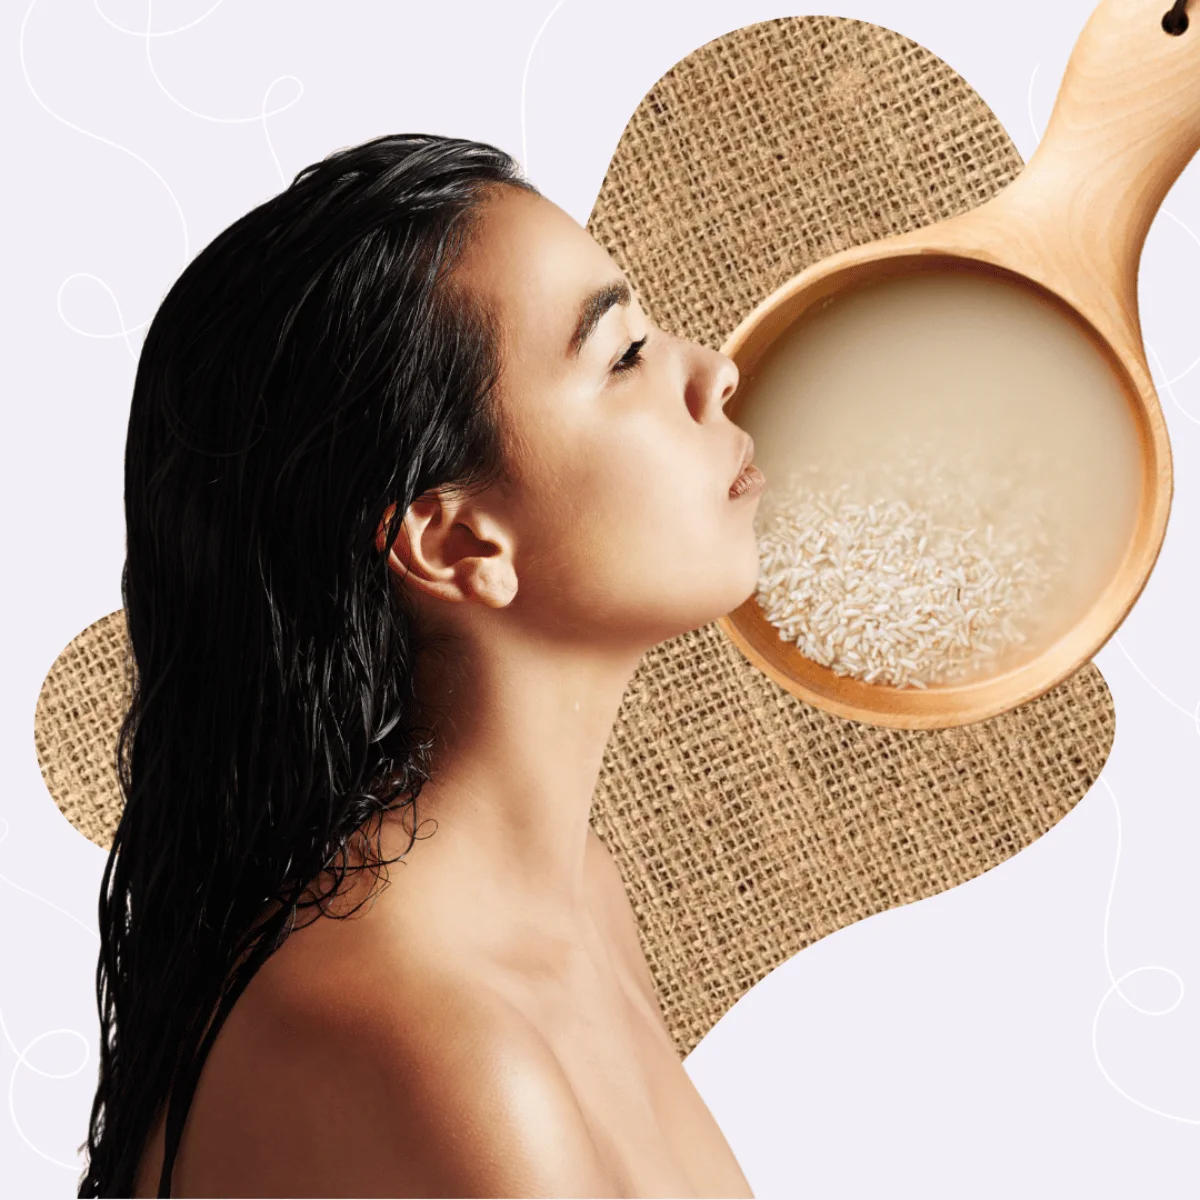
As someone who gravitates toward natural alternatives – from the food on my plate to the products in my skincare routine – I couldn’t help but be fascinated by an ancient hair growth remedy that’s been making waves: rice water.
The Ancient Roots of Rice Water

This ‘Rapunzel’ hack is a beauty secret that has been turning heads for centuries. Literally.
Japanese women of the Heian Period (794-1185 AD) had floor-length, glossy hair, all thanks to Yu-Su-Ru (their rice water rinse).
According to a 2010 study in the International Journal of Cosmetic Science, this wasn’t just a coincidence – rice water significantly increases hair elasticity and reduces surface friction.
The Science Behind the Magic: How Does Rice Water Actually Work?
Think of rice water as a nutrient cocktail for your hair. Here’s what makes it so powerful:
- Amino proteins
- Vitamin E
- B vitamins
- Minerals
- Amino acids
- Antioxidants
In fact, rice water contains a remarkable antioxidant inositol that actively promotes hair growth while nourishing your strands from root to tip.
According to Healthline, studies have found that inositol is able to penetrate damaged hair and repair it from the inside out. It even protects hair from future damage.
What Is The Best Rice To Make Rice Water?
Both conventional and organic rice will contain some amounts of fertilisers and pesticides!
So if you want to avoid that exposure altogether, Mielle Organics suggests using Basmati rice, “It’s imported from countries like India and Pakistan, and they don’t have the arsenic problem.”
The Truth About Possible Side Effects: What You Need to Know
To keep it real – rice water isn’t for everyone. Some people experience:
- Dryness
- Protein overload
- Scalp buildup
- Breakage
This typically affects those with low porosity hair, due to rice’s high starch content. Don’t worry though – you can still use it! Just limit the application to once weekly!
DIY Rice Water Treatment: Step-by-Step Guide
STEP 1: Rinse the rice
Take 1/2 a cup of rice and rinse with water to remove impurities such as dirt and dust. You can use a strainer for this.
STEP 2: Soak the rice
Using two to three cups of water, stir the rice in a bowl and leave to soak for 30 minutes until the water becomes cloudy (but it can be left for up to 24 hours).
STEP 3: Strain the rice
After you’ve allowed your rice to soak, strain it and keep the water in either a plastic container or a mason jar.
STEP 4: Shampoo
Next, shampoo your hair. You may want to try using a sulphate-free shampoo if you suffer from dryness or have colour-treated hair.
STEP 5: Apply the rice water
When you’ve rinsed out the shampoo, apply the rice water (as you would conditioner) massaging it gently into your scalp and hair strands. Leave it on for 20 minutes.
STEP 6: Finish with a conditioner
After you’ve thoroughly rinsed your hair, complete this routine with a good hair conditioner of your choice.
Storage Tip: Keep your rice water in the refrigerator and use within 7 days. If it smells funky, make a fresh batch!
