10 Reasons To Use Apple Cider Vinegar On Your Curly Hair

For those of us blessed with curls, finding the perfect hair care routine can feel like solving a complex puzzle. Between managing frizz, defining curls, and keeping our scalps healthy, curly hair demands extra attention.
While luxurious hair masks and specialist products have their place, one surprisingly powerful ingredient might already be sitting in your kitchen cupboard: apple cider vinegar.

This home remedy has become increasingly popular in the curly hair community, and for good reason. Apple cider vinegar (ACV) offers a wealth of benefits specifically suited to address the unique challenges faced by those with curly, coily, and wavy hair textures.

Let’s explore 10 reasons why incorporating an apple cider vinegar rinse into your routine might be the game-changing solution your curls have been craving.

1.Restores Your Hair’s Natural pH Balance

Curly hair tends to be more alkaline than other hair types, which can lead to frizz and dryness. Apple cider vinegar’s naturally acidic composition helps restore your hair’s optimal pH balance.

    The pH of healthy hair and scalp is slightly acidic, typically ranging from 4.5 to 5.5, but many commercial hair products are alkaline, which can disrupt this balance. Apple cider vinegar rinses help return hair to its natural acidic state, resulting in smoother, more manageable curls.

    When your hair’s pH is balanced, the cuticle lies flat, allowing for enhanced shine and reduced frizz – essential factors for defined, bouncy curls.

    2.Removes Product Build-up Without Harsh Detergents

    Product build-up is particularly problematic for those with curly hair who often use multiple styling products to define their curl pattern. Over time, these products can accumulate, weighing down curls and diminishing their natural spring.

      An apple cider vinegar rinse effectively dissolves this residue without stripping the hair of its natural oils. Unlike clarifying shampoos that might contain harsh sulphates, an ACV rinse offers a gentle yet thorough cleanse that’s especially beneficial for those following the Curly Girl Method.

      3.Soothes Dry, Itchy Scalp Conditions

      Those with curly hair often struggle with scalp issues, partly because natural oils have difficulty travelling down the hair shaft’s spiral structure. This can result in a dry scalp, dandruff, or general irritation.

        “Along with antimicrobial properties that can effectively relieve inflammation, apple cider vinegar helps balance your pH and exfoliate scalp skin, which can minimize dandruff and reduce itchiness,” says Gina Rivera, founder of Phenix Salons and creator of Colours by Gina.

        By creating an environment where fungus and bacteria struggle to thrive, regular ACV rinses can help maintain scalp health between wash days—particularly beneficial for those who follow low-poo or no-poo routines.

        4.Enhances Natural Curl Definition

        Perhaps one of the most exciting benefits of using apple cider vinegar on curly hair is its ability to enhance your natural curl pattern.

          By closing the hair cuticle and reducing frizz, an ACV rinse allows your curls to form more cohesive, defined patterns.

          5.Addresses High Porosity Hair Concerns

          Understanding your hair porosity – how readily your hair absorbs and retains moisture – is crucial for proper curl care. Many people with curly hair have high porosity strands, meaning the cuticle is more open and moisture escapes easily.

            According to Davines, apple cider vinegar helps to “seal the cuticles, reducing porosity and promoting shine.” This makes it particularly beneficial for those whose curl type quiz results indicate high porosity hair.

            6.Adds Remarkable Shine Without Silicones

            According to Gretchen Friese, BosleyMD hairstylist and certified trichologist, “ACV smooths and seals the hair cuticle, making it ideal for reaching high-shine levels. The enzymes from the fermented apple close and smooth the hair cuticle, the protective layer that locks in vital lipids, proteins, and moisture.”

              This smoothing action creates a surface that naturally reflects more light, giving curls a healthy, radiant shine. Unlike commercial shine serums that coat the hair with silicones and synthetic ingredients, the shine from an apple cider vinegar rinse comes from improved hair health and structure at the cuticle level.

              7.Detangles Without Causing Breakage

              Detangling curly hair can be challenging, often resulting in breakage and damage. The smoother cuticle created by an apple cider vinegar rinse significantly reduces friction between strands, making the detangling process gentler and more efficient.

              When the hair cuticle is properly sealed, strands glide past each other more easily. This reduced friction means less breakage during detangling, which is crucial for maintaining length in curly hair.

              8.Stimulates Hair Growth

              For those looking to grow their curls longer, apple cider vinegar may offer additional benefits. The acidic nature of ACV helps remove dead skin cells and promote a healthier environment for hair growth.

                A clean, balanced scalp environment is essential for optimal hair growth, and regular ACV rinses help maintain these conditions without disrupting your scalp’s natural oil production.

                9.Combats Hard Water Effects

                Hard water contains minerals like calcium, magnesium, and iron that can build up on hair over time, creating a stubborn residue that makes curls appear dull, feel stiff, and lose their natural bounce.

                  This mineral accumulation is particularly problematic for curly hair textures, as these deposits create a barrier that prevents moisture from penetrating the hair shaft—leading to increased dryness, frizz, and disrupted curl patterns.

                  For many curly-haired people living in hard water areas, even the most luxurious conditioning treatments can’t deliver their full benefits when fighting against this invisible mineral coating.

                  According to research from The Independent Pharmacy, the acetic acid in apple cider vinegar effectively dissolves these mineral deposits, essentially resetting your hair’s surface. This allows your conditioning products to penetrate more effectively, resulting in more hydrated, defined curls that respond better to styling products.

                  10.Offers a Cost-Effective, Natural Alternative

                  Perhaps one of the most practical benefits of using apple cider vinegar for curly hair is its affordability and accessibility.

                    While specialised curly hair products can be quite expensive, a bottle of raw, unfiltered apple cider vinegar costs a fraction of the price and yields multiple treatments.

                    This makes it an excellent option for those looking to maintain their curls on a budget without compromising on results.

                    Beauty hair
                    Is Argan Oil Good For Curly Hair?
                    Is Argan Oil Good For Curly Hair?

                    Let’s give curly hair its crown for a moment – it’s beautiful and unique, but sometimes it feels like it has a mind of its own.

                    If you’re part of the curly crew, you know the eternal quest for that perfect product that can tackle dryness, define curls, and tame frizz without weighing down your precious coils.
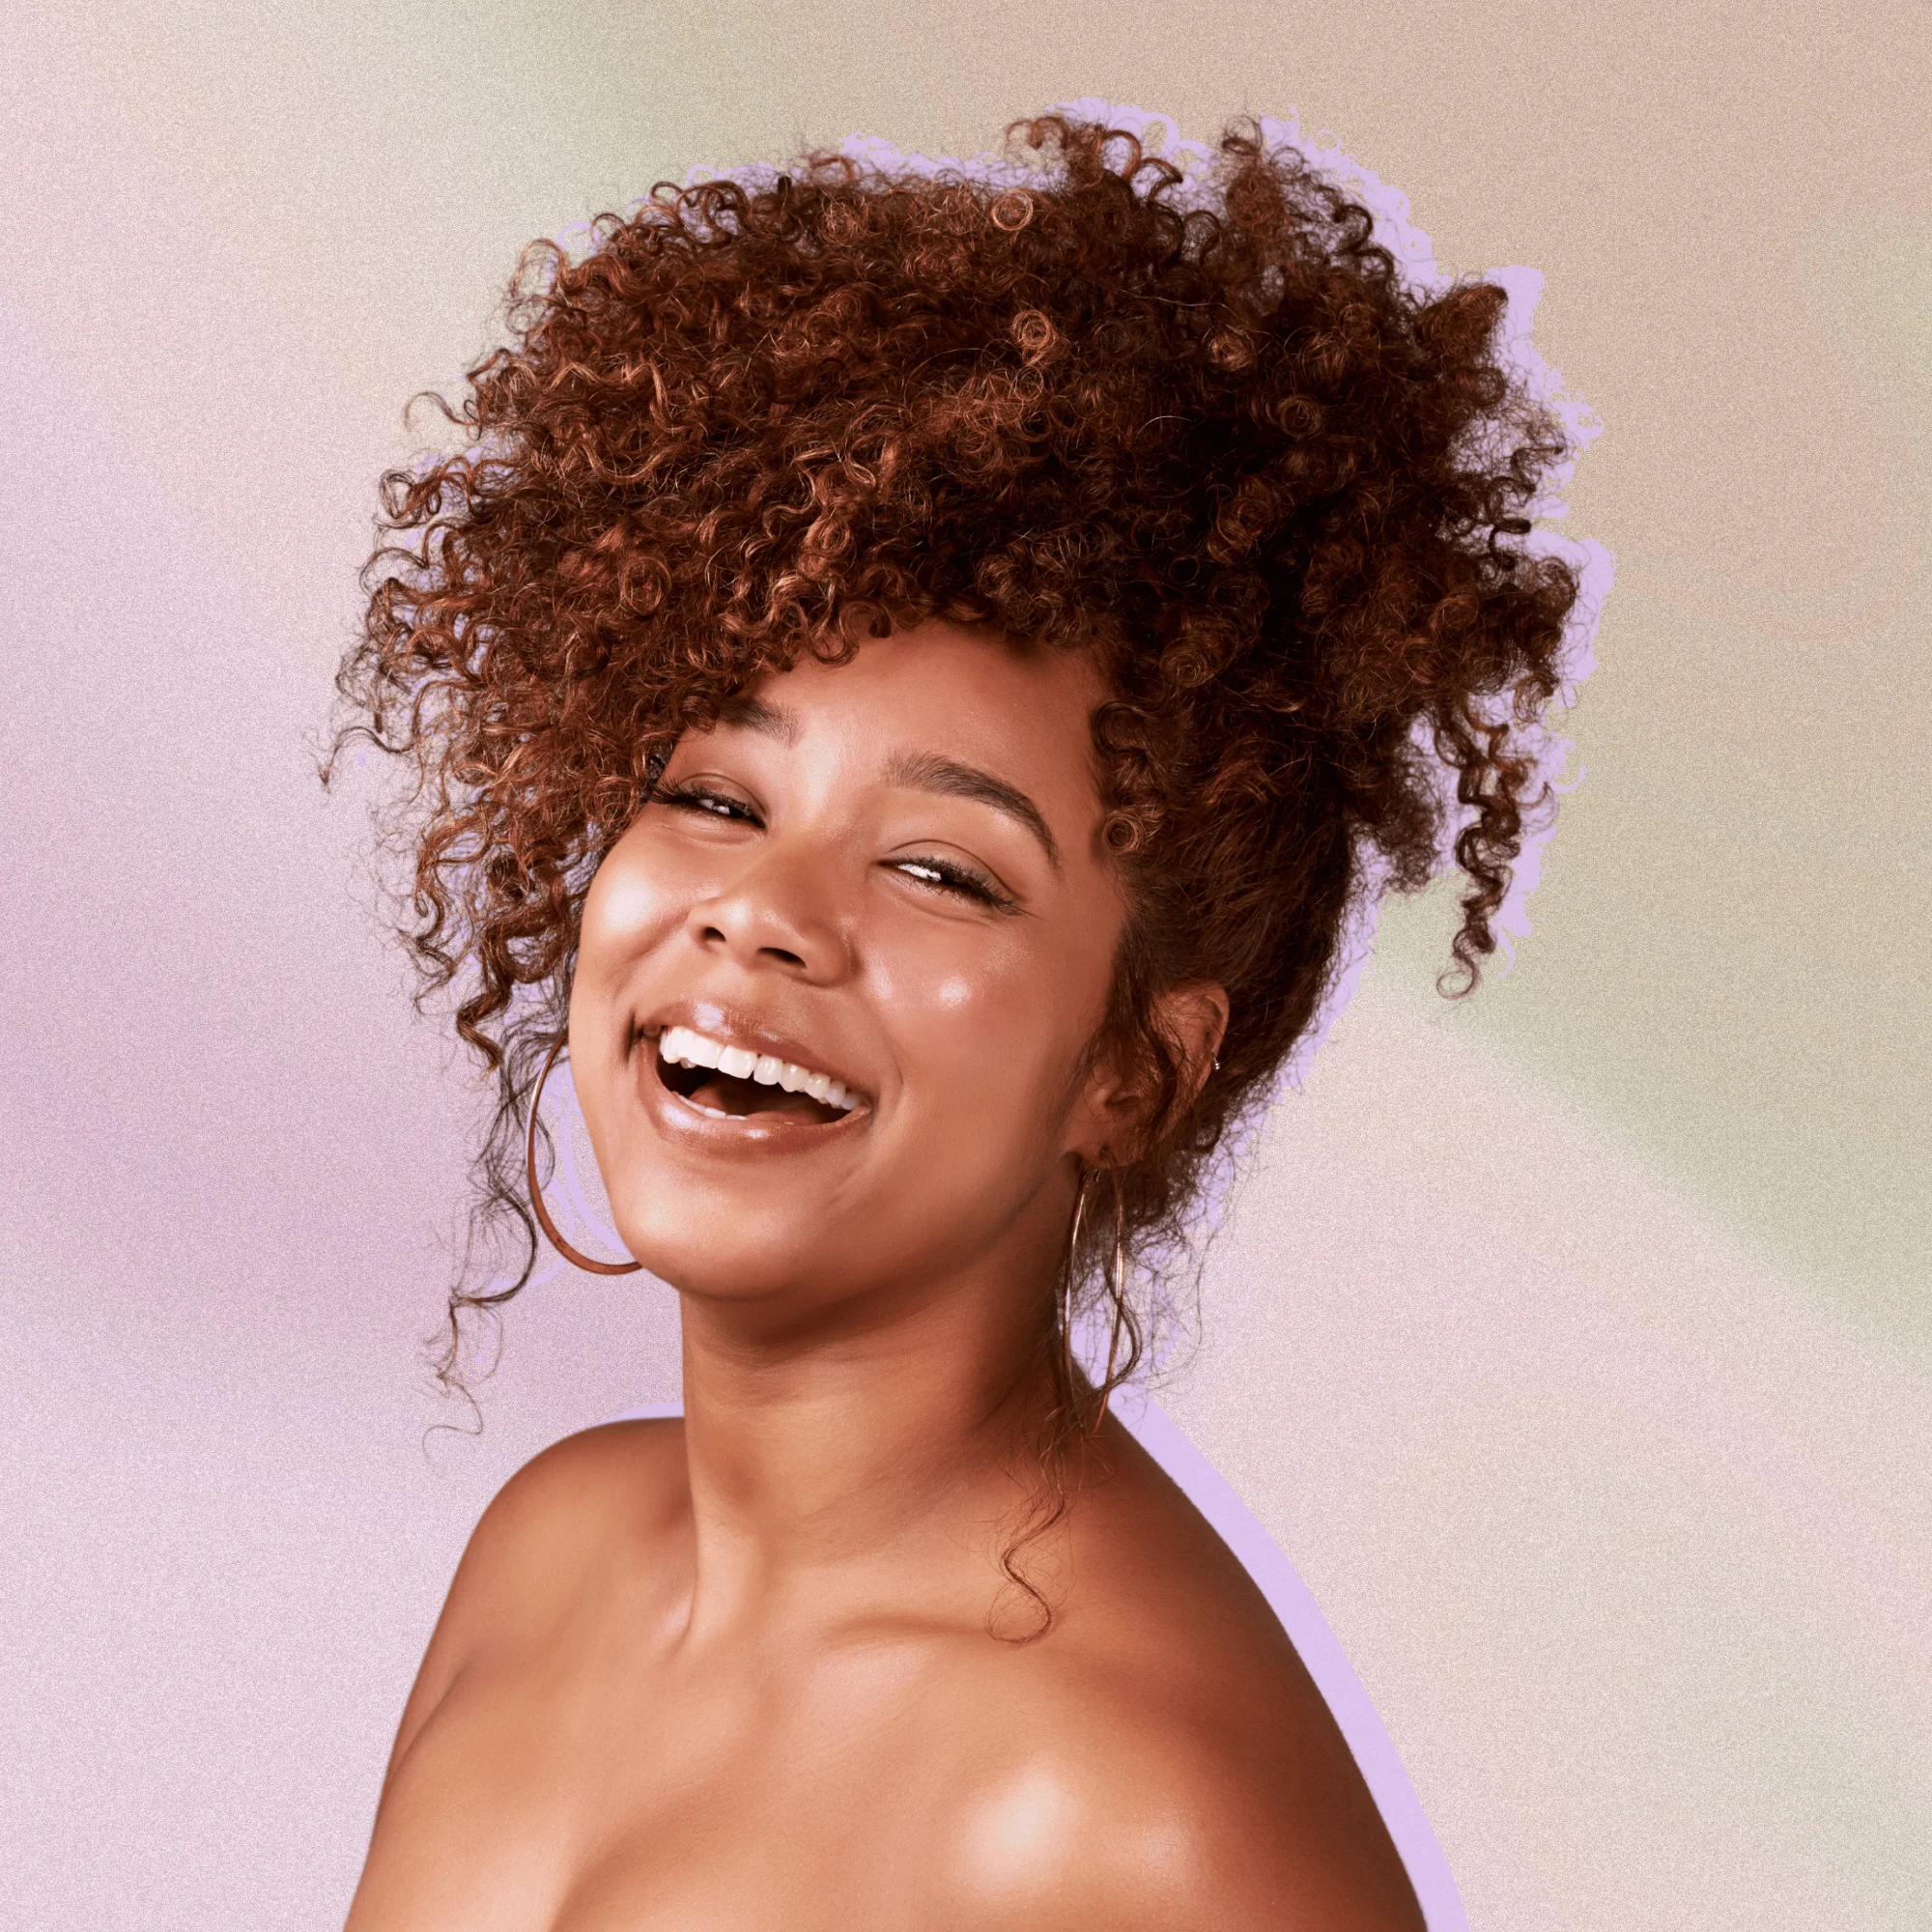
                    Enter argan oil, the golden elixir that’s been creating quite the buzz in the curly community.

                    Sourced from the kernels of Morocco’s native argan tree, this liquid gold has been a beauty secret for centuries. But there’s some serious science behind why this oil has become a holy grail product for curly-haired folks everywhere.

                    Ron Robinson, a cosmetic chemist, tells Allure that argan oil is “rich in fatty acids and works to condition the hair and provide shine,” so it’s no surprise that those with curly hair swear by its smoothing and defining powers.

                    Whether you’re rocking loose waves, tight coils, or anything in between, argan oil might just be the answer to your curl prayers.

                    In this guide, we’re diving deep into everything you need to know about argan oil for curly hair. From its rich composition to practical application tips, consider this your comprehensive roadmap to understanding why this natural wonder has earned its spot in countless curly hair care routines.

                    What Makes Argan Oil So Special?

                    Before we get into how argan oil works its magic on curls, let’s break down what’s actually in this golden elixir. Argan oil contains a powerful cocktail of nutrients, including:

                    • Essential fatty acids (including linoleic acid)
                    • Vitamin E
                    • Antioxidants
                    • Natural phenols
                    • Omega-6 and Omega-9 fatty acids

                    These compounds work together to create a moisturising powerhouse that curly hair absolutely loves!

                    Why Curly Hair and Argan Oil Are a Perfect Match

                    Curly hair tends to be naturally drier than straight hair because the spiral shape makes it harder for natural oils to travel down the hair shaft – which is exactly why argan oil’s molecular structure makes it so effective.

                    Its small molecules can penetrate the hair shaft rather than just sitting on top, helping to repair damage from the inside out and providing deep moisturising properties that curly hair craves!

                    Argan oil is packed with vitamin E, ferulic acid, and carotenoids – antioxidants that help protect hair from environmental damage and UV rays.

                    Plus, its high content of oleic and linoleic acids helps seal moisture into the hair shaft, reducing frizz and enhancing curl pattern.

                    For best results, warm a few drops between your palms before scrunching into damp hair, focusing on mid-lengths to ends.

                    A little goes a long way – start with less than you think you need!

                    The Benefits of Argan Oil for Curly Hair

                    • Deep Moisture Without the Weight – Unlike some hair oils that can leave curls feeling heavy and greasy, argan oil provides moisture without weighing down your curls. This makes it an ideal styling product for achieving defined, bouncy curls.
                    • Split End Prevention and Repair – The fatty acids in argan oil help seal the hair cuticle, reducing the appearance of split ends and preventing future damage. While it can’t technically “heal” split ends (only trimming can do that), it can make them less noticeable and prevent new ones from forming.
                    • Promotes Healthy Hair Growth – Argan oil helps stimulate hair growth by nourishing hair follicles, improving scalp health, increasing blood circulation and providing essential nutrients for healthy hair growth.
                    • Frizz Fighting Power – The moisturising properties of argan oil help smooth the hair cuticle, reducing frizz and promoting better curl definition. It’s like a natural curl definer!

                    4 Ways To Use Argan Oil in Your Curly Hair Care Routine

                    1. As a Pre-Shampoo Treatment – Apply pure argan oil to your dry hair and scalp 30 minutes before washing. This helps protect your curls during the cleansing process and provides deep nourishment.
                    2. As a Styling Product – Add 2-3 drops to your palms, rub them together, and apply to damp curls before your other styling products. This helps lock in moisture and prepare your hair for styling.
                    3. For Daily Maintenance – Use a tiny amount on dry hair to refresh curls, tame frizz, and add shine between wash days.
                    4. In Your Hair Mask – Mix a few drops of argan oil into your favourite deep conditioning mask for extra moisturising benefits.

                    Tips for Using Argan Oil

                    1. Less is More – Start with a small amount – you can always add more if needed. Too much oil can make even the driest curls look greasy.
                    2. Quality Matters – Look for pure, cold-pressed argan oil without added ingredients. Yes, it might be pricier, but a little goes a long way.
                    3. Timing is Everything – Apply to damp hair for best absorption and curl definition.

                    When to Be Cautious

                    While argan oil is generally safe for all hair types, those with very fine curls might want to use it sparingly or only on their ends. If you have a sensitive scalp, do a patch test before applying it directly to your scalp.

                    Q. What Are The Disadvantages Of Argan Hair Oil?

                    A. While this liquid gold is amazing, it comes with a few considerations.

                    Pure, high-quality argan oil often comes with a luxury price tag that might make your wallet wince. For those of us with finer hair types, too much can leave strands looking more slick than sleek.

                    And if you have nut sensitivities, you’ll want to patch test first. Not to mention, some varieties have a distinct natural scent that might not be everyone’s cup of tea.

                    Q. Do You Use Argan Oil On Wet or Dry Hair?

                    A. Argan oil is it’s versatile enough to work both ways, but timing is everything. Think of damp hair as your ideal canvas: it’s when your strands are most receptive to soaking up all that goodness.

                    Apply it right after towel-drying for that sweet spot of moisture-locking and curl definition.

                    For dry hair days? A tiny amount can rescue frizz and add shine in seconds – just remember, a little goes a long way.

                    Q. Which Oil Is The Best For Curly Hair?

                    A. While argan oil gets plenty of well-deserved spotlight, your perfect match depends on your curl’s unique personality.

                    Coconut oil might be your go-to if your hair loves protein, while jojoba oil mimics your hair’s natural oils perfectly.

                    Castor oil has become a cult favourite for thickness seekers, and sweet almond oil offers a lighter touch.

                    The Bottom Line

                    So, is argan oil good for curly hair? Absolutely!

                    This natural oil contains all the right ingredients to keep your curls healthy, hydrated, and happy. Whether you’re dealing with dry hair, frizz, or damage, argan oil can be a valuable addition to your hair care collection.

                    Remember that everyone’s curls are different, so what works for one person might not work for another. Start slowly, experiment with different application methods, and pay attention to how your curls respond. With consistent use, argan oil can help transform your curls from dry and frizzy to soft, defined, and gorgeous.

                    Ready to give argan oil a try? Look for pure, high-quality oil and start incorporating it into your routine. Your curls are about to get a whole lot happier!

                    Beauty hair
                    3 Must-try DIY Deep Conditioners For Curly Hair That Actually Work
                    3 Must-try DIY Deep Conditioners For Curly Hair That Actually Work

                    Ever notice how some days your curls just cooperate perfectly? Those rare moments when every curl is defined, bouncy, and moisturised, and you wish you could recreate that magic every morning!

                    Well, the good news is that those perfect hair days CAN become much more frequent. The secret lies in DIY deep conditioners for curly hair – treatments that nourish your curls from within and transform your natural hair care routine.

                    Whether you’re embracing your natural texture or nursing over-processed strands back to health, I’m about to share three simple treatments you can whip up from ingredients you probably already have in your kitchen.

                    In this guide, we’ll explore these effective treatments and understand why deep conditioning is crucial for curly hair.

                    Why Your Curly Hair Is Begging for Deep Conditioning

                    Curly hair is structurally different from straight hair, and not just in the obvious ways.

                    Those beautiful coils and curves that make your hair unique actually create a bit of an obstacle course for your natural oils. While straight hair lets oils glide down like a water slide, curly hair makes those nurturing oils work for it!

                    Each twist and turn in your curl pattern creates a barrier that makes it harder for your scalp’s natural moisture to reach the ends of your hair.

                    Think of it like trying to get water through a twisted garden hose – it’s just not as smooth a journey. This is exactly why your hair needs that extra moisture boost that deep conditioning provides.

                    Plus, if you colour, heat style, or live in a dry climate, your curls lose moisture at a significantly faster rate.

                    That’s why deep conditioning shouldn’t be seen as an optional treatment – it’s an essential step that provides your curls with the hydration they desperately need.

                    Deep Conditioner vs Regular Conditioner: What’s Really The Difference?

                    Let’s clear up the confusion once and for all! While both products aim to make your curls happier, they work quite differently. Think of regular conditioner as your daily multivitamin, while deep conditioner is like an intensive wellness retreat for your hair.

                    Regular Conditioner

                    • Lightweight formula that works on the surface
                    • Detangles and adds immediate slip
                    • Typically stays on for 3-5 minutes
                    • Designed for daily or co-washing use
                    • Focuses on surface-level moisture
                    • Washes out easily
                    • Good for basic maintenance

                    Deep Conditioner

                    • Thicker, more concentrated formula
                    • Penetrates deeply into the hair shaft
                    • Needs 20-30 minutes to work its magic
                    • Used weekly or bi-weekly
                    • Repairs and restructures from within
                    • Contains more intensive ingredients
                    • Targets specific hair concerns

                    How Often Should You Deep Condition?

                    According to Michelle Blaisure, certified trichologist and technical specialist for Bosley Professional Strength, “Conditioners are valuable for all hair types but it is the frequency of conditioning that can vary based on different types/textures.”

                    While your specific hair type is the ultimate deciding factor, most curly hair thrives with deep conditioning every 1-2 weeks.

                    If your curls are particularly parched, colour-treated or damaged, you might want to bump it up to weekly sessions or every time you shampoo.

                    But here’s the key: listen to your hair. Is it feeling soft and manageable? You’re on the right track. Feeling a bit limp or heavy? Maybe dial back the frequency.

                    Too much of a good thing can definitely be counterproductive!

                    Signs you need more frequent deep conditioning:

                    • Excessive dryness or frizz
                    • Split ends
                    • Difficulty detangling
                    • Loss of curl pattern
                    • Dull, lifeless appearance

                    Signs you might be overdoing it:

                    • Limp, heavy curls
                    • No volume at root
                    • Hair feels too soft or mushy
                    • Lack of natural bounce
                    Beauty hair
                    How To Protect Curly Hair At Night: The Complete Guide for All Curl Types
                    How To Protect Curly Hair At Night: The Complete Guide for All Curl Types

                    Remember that GREAT feeling of perfect curl definition after a fresh wash day? Now imagine maintaining that bounce and vitality even after eight hours of beauty sleep. Sounds like a dream, right?
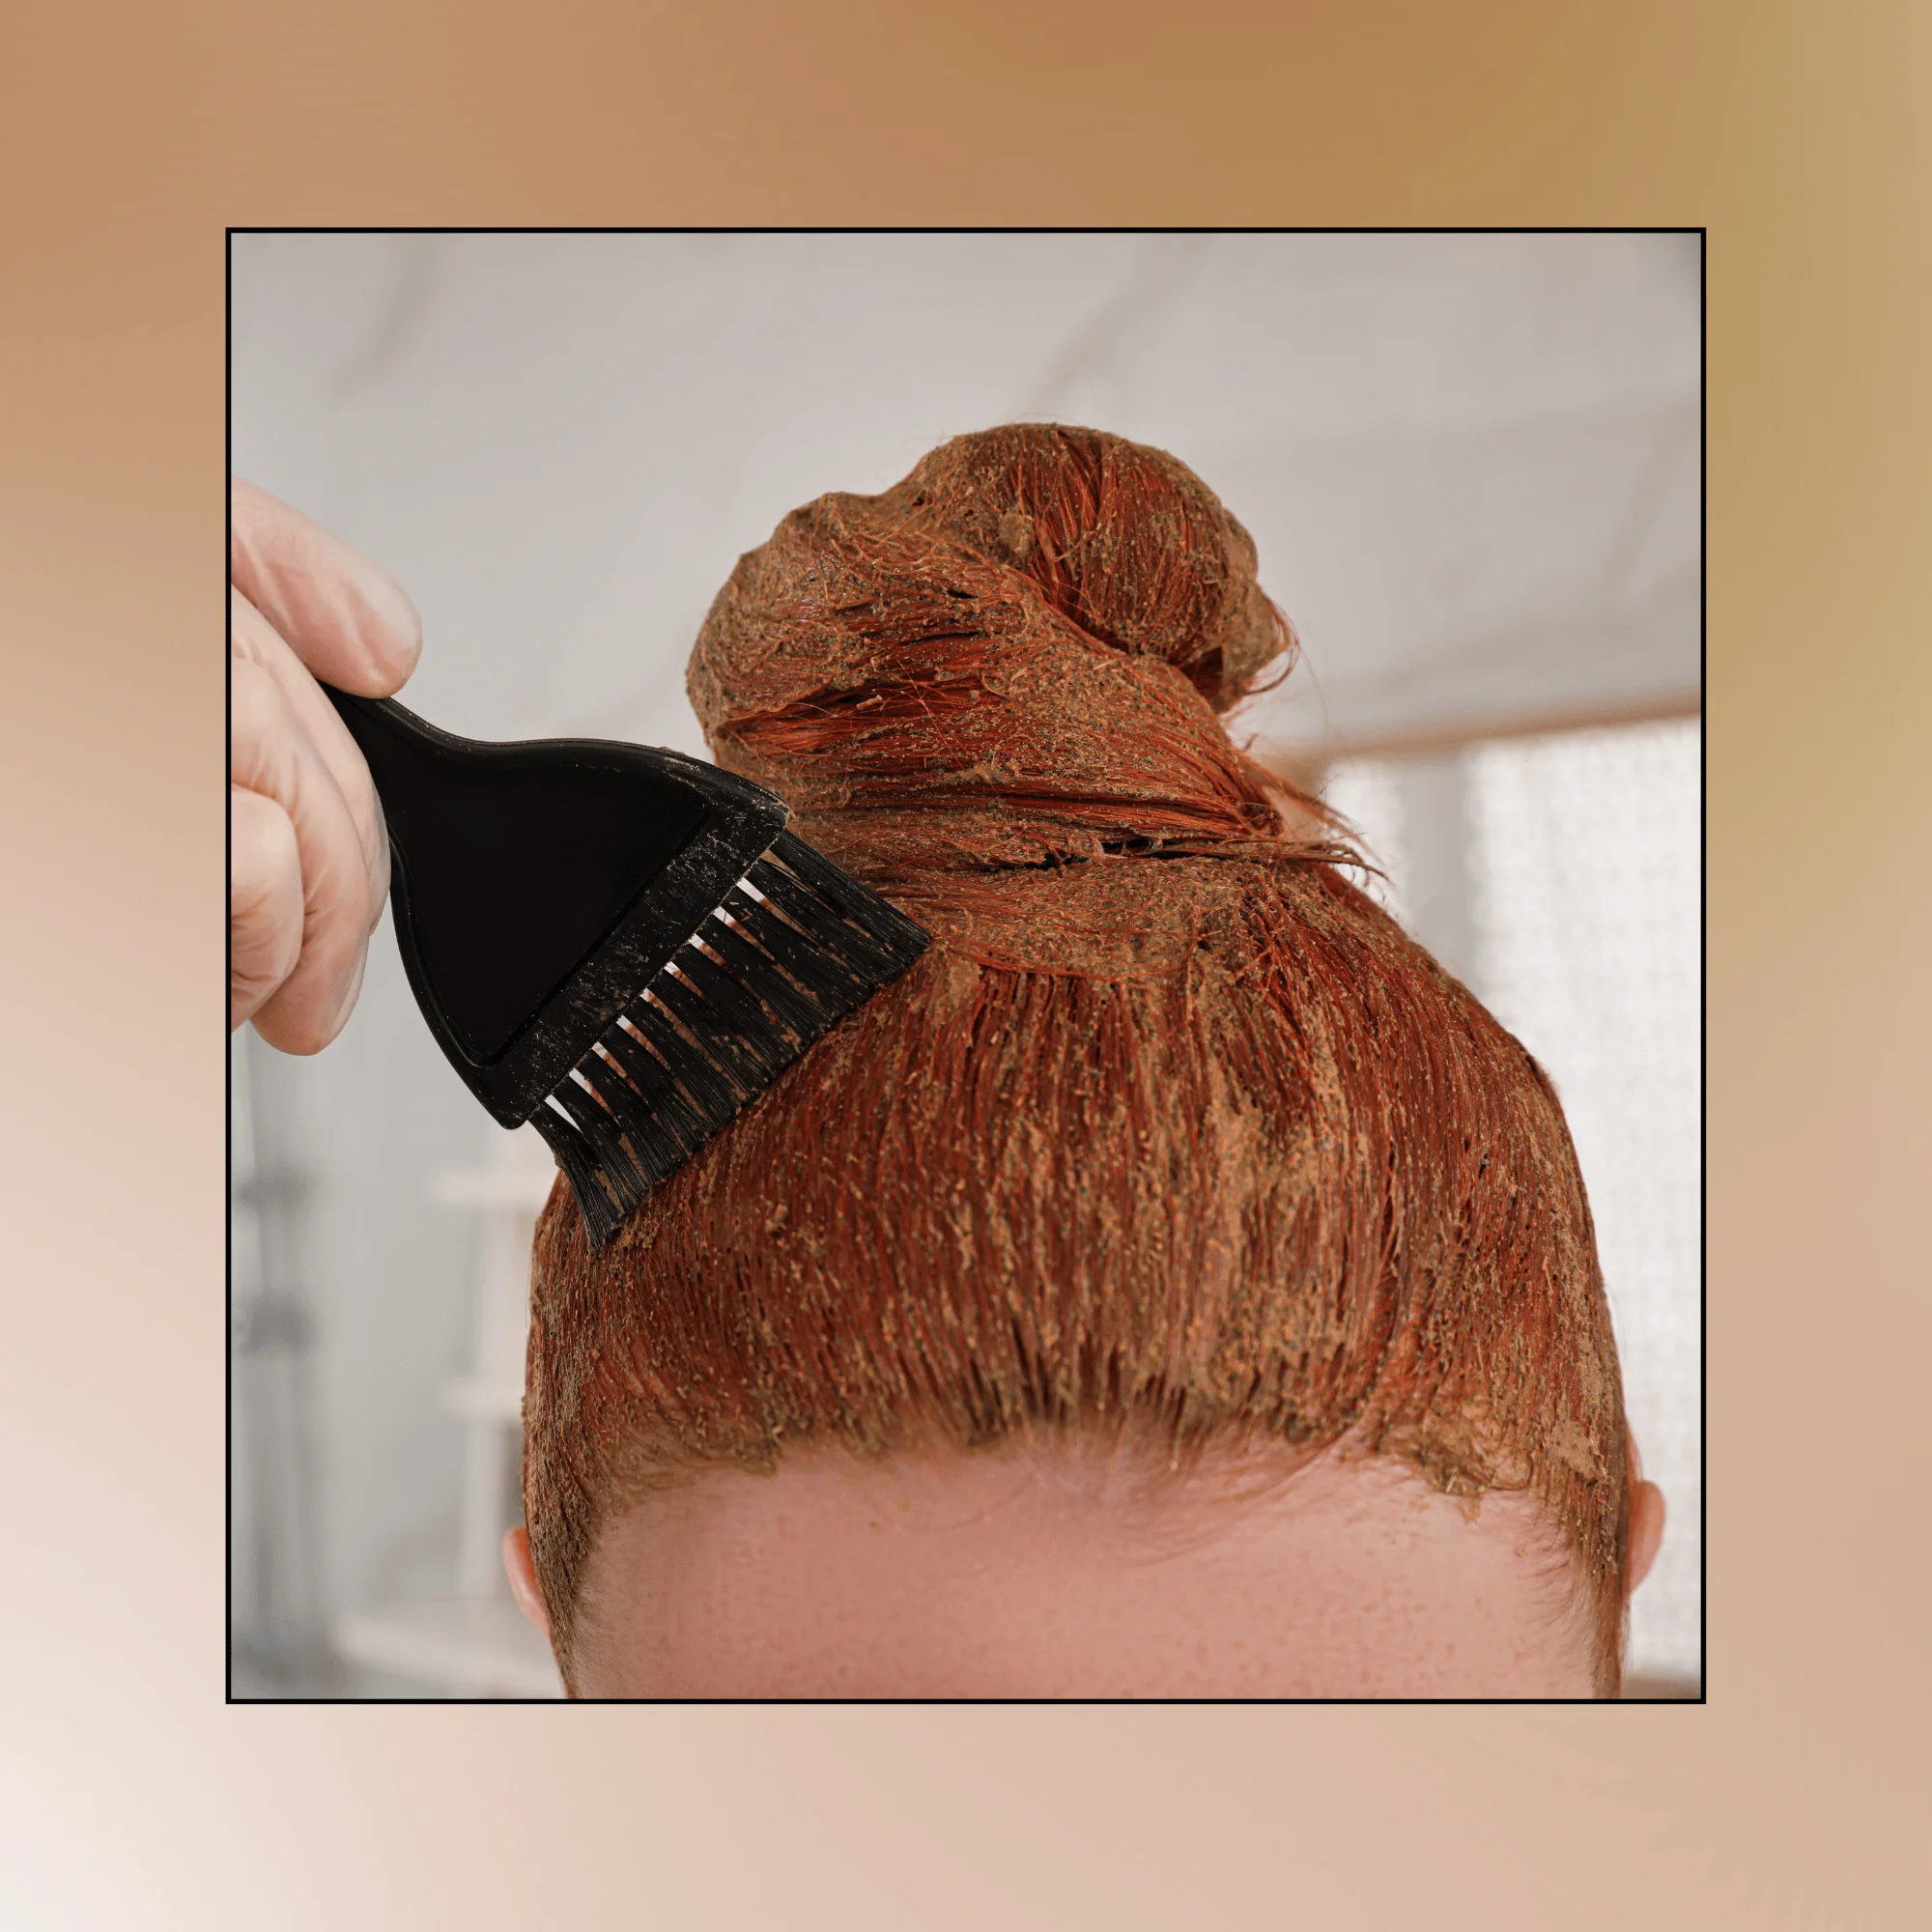
                    As someone who’s navigated the ups and downs of curly hair care since going natural in 2017 (and yes, literally woken up looking like I’d been electrocuted), I’m here to share the secrets of how to protect your curly hair at night that actually work – backed by science and real-world experience.

                    Whether you’re dealing with gentle waves or tight coils, that morning masterpiece starts with your nighttime routine.

                    Throwing your hair up and hoping for the best just doesn’t cut it!

                    The Science Behind Nighttime Curl Care: Why Your Evening Routine Matters

                    Let’s get a bit nerdy for a moment because understanding your curls means knowing how to protect them.

                    Each curl on your head is like a delicate spring with a unique structure. When you look at curly hair under a microscope, you’ll notice the hair shaft isn’t uniform like straight hair – it has an elaborate pattern that gives your curls their signature bounce.

                    The Overnight Challenge

                    During sleep, three main factors affect your curls:

                    1. Friction: Every toss and turn creates friction between your head and bedding, which can rough up the hair cuticle and create frizz. This is especially damaging when your scalp’s natural oils haven’t made their way down your hair shaft (a common challenge with curly hair).
                    2. Moisture Loss: Your hair loses moisture throughout the night, particularly in dry climates or heated rooms. Less moisture equals more frizz and undefined curls come morning.
                    3. Compression: The weight of your head against traditional pillowcases can literally flatten and distort your curl pattern while you sleep.
                    Beauty hair
                    5 DIY Hair Masks For High Porosity Hair
                    5 DIY Hair Masks For High Porosity Hair

                    Imagine that you’ve just stepped out of the shower, hair freshly washed and conditioned. But wait—within minutes, your strands are parched, frizzy, and crying out for moisture.

                    Sound familiar? Welcome to the world of high porosity hair!
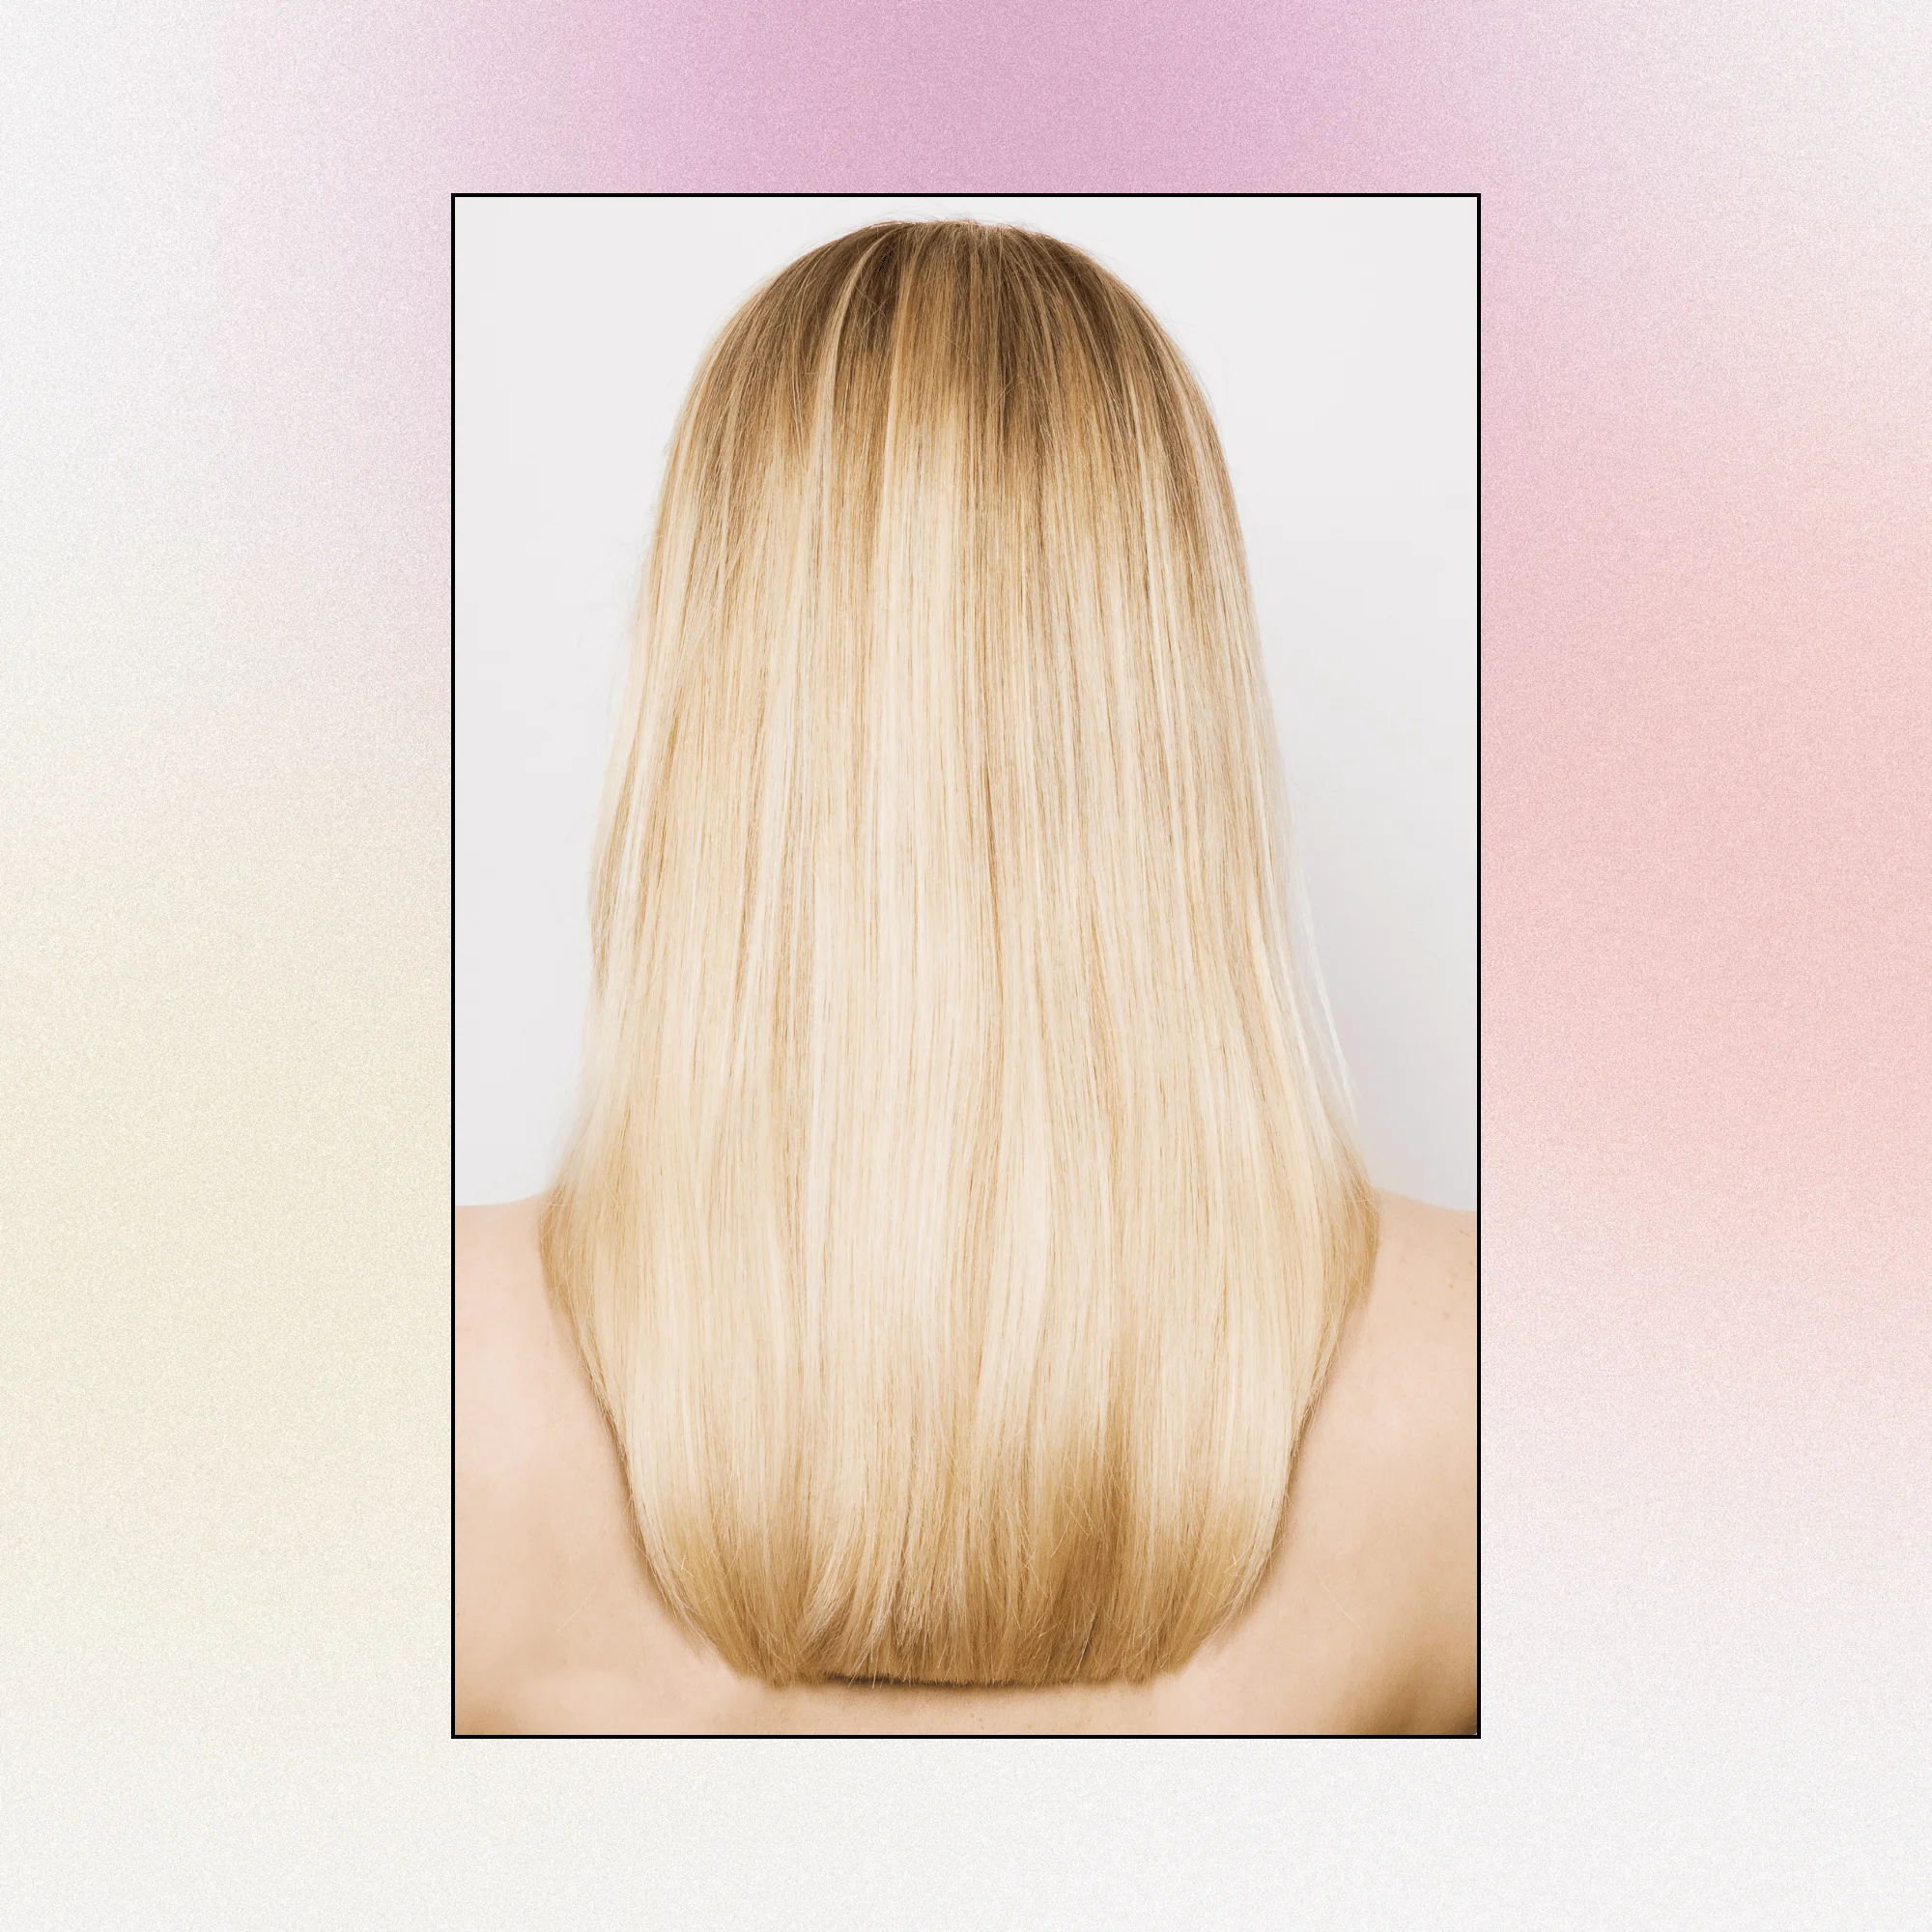
                    We’ve been focusing on high porosity hair lately and for good reason. It’s an often overlooked aspect of hair care that doesn’t always get the attention it deserves. Yet, understanding your hair’s porosity is a crucial factor in figuring out exactly what your hair needs and what might be going wrong with your current routine.

                    And let’s face it, our locks have been through it all. From the resurgence of Y2K-inspired crimped styles to the pandemic-induced DIY dye jobs, our hair has weathered MANY storms.

                    Add to that the rising awareness about hair health and texture diversity, and suddenly everyone’s wondering if their hair is low, medium, or high porosity.

                    But once you know what you’re dealing with, you can tailor your hair care routine to give your tresses exactly what they need.

                    And that’s where our fab five DIY hair masks for high porosity hair come in – they’re like a tall glass of water for your thirsty strands, with ingredients so nourishing you might be tempted to eat them!

                    Understanding High Porosity Hair: The Science Behind Your Strands

                    Before we dive into our mask masterpieces, let’s break down what’s really going on with your high porosity hair.

                    High porosity hair occurs when these cuticles (the protective outer layer of your hair) are lifted or damaged. This can happen due to various factors:

                    1. Genetic lottery: Some of us are simply born with it. Thanks, Mum and Dad!
                    2. Chemical treatments: Those gorgeous highlights might be costing you more than just pounds.
                    3. Heat styling: Your flat iron might be giving you sleek looks, but it’s also opening those cuticle doors wide.
                    4. Environmental factors: Sun, pollution, and hard water are not friends of your hair.

                    When your cuticles are raised, moisture gets in quickly, but it also escapes just as fast. This leaves you with hair that’s:

                    • Prone to frizz
                    • Quick to tangle
                    • Easily damaged and prone to split ends
                    • Difficulty holding onto colour

                    But here’s the silver lining!

                    High porosity hair is also quick to absorb nutrients. This means that when you treat it right, it soaks up all that goodness like a sponge. And that’s exactly what we’re going to do with our fabulous five DIY masks.

                    5 DIY Hair Masks for Your High Porosity Hair

                    1. The Protein Boost Mask

                    This mask provides a protein treatment that can help strengthen the hair shaft. The amino acids in the egg and yoghurt work to repair damaged hair, while honey helps retain moisture.

                    WHAT YOU NEED:

                    • 1 egg
                    • 2 tablespoons Greek yoghurt
                    • 1 tablespoon honey

                    WHAT TO DO:

                    1. In a small bowl, whisk the egg until well beaten.
                    2. Add Greek yoghurt and honey, mixing until you have a smooth consistency.
                    3. Apply the mask to damp hair, focusing on the lengths and ends.
                    4. Massage gently into your scalp and hair.
                    5. Cover with a shower cap and leave on for 30 minutes.
                    6. Rinse thoroughly with cool water, then shampoo and condition as usual.
                    1. The Moisture Lock Mask

                    Perfect for deep conditioning, this mask helps your hair retain moisture. The healthy fats in avocado and coconut oil nourish dry hair, while aloe vera soothes the scalp.

                    WHAT YOU NEED:

                    • 1 ripe avocado
                    • 2 tablespoons coconut oil
                    • 1 tablespoon aloe vera gel

                    WHAT TO DO:

                    1. Mash the ripe avocado in a bowl until smooth.
                    2. Melt the coconut oil (if solid) and add to the avocado along with the aloe vera gel.
                    3. Mix well until you have a creamy consistency.
                    4. Apply to damp hair from roots to tips, ensuring even coverage.
                    5. Put on a shower cap and leave for 45 minutes.
                    6. Rinse out thoroughly with lukewarm water, then shampoo and condition as normal.
                    1. The Frizz Fighter Mask

                    This mask helps smooth hair cuticles, reducing frizz and preventing split ends. The combination of oils provides intense hydration for your thirsty strands.

                    WHAT YOU NEED:

                    • 2 tablespoons shea butter
                    • 1 tablespoon argan oil
                    • 5 drops lavender essential oil

                    WHAT TO DO:

                    1. Melt the shea butter using a double boiler or microwave in short bursts.
                    2. Once melted, remove from heat and add argan oil and lavender essential oil.
                    3. Mix well and allow to cool slightly (but not solidify).
                    4. Apply the mixture to damp hair, paying extra attention to frizzy areas.
                    5. Comb through to ensure even distribution.
                    6. Leave on for 30 minutes, then rinse thoroughly and style as usual.

                    1. The Scalp Soother Mask

                    While focusing on hair care, don’t forget about your scalp! This mask helps balance pH levels and can alleviate itchiness often associated with dry scalp.

                    WHAT YOU NEED:

                    • 2 tablespoons coconut oil
                    • 1 tablespoon apple cider vinegar
                    • 5 drops tea tree oil

                    WHAT TO DO:

                    1. In a small bowl, mix coconut oil, apple cider vinegar, and tea tree oil.
                    2. Part your hair into sections and apply the mixture directly to your scalp.
                    3. Gently massage the mixture into your scalp for 5 minutes.
                    4. Cover with a shower cap and leave on for 20 minutes.
                    5. Rinse thoroughly, then shampoo and condition as normal.

                    1. The Shine Enhancer Mask

                    This mask not only provides deep conditioning but also leaves your hair with a beautiful shine. The potassium in bananas helps strengthen hair and prevent split ends.

                    WHAT YOU NEED:

                    • 1 ripe banana
                    • 1 tablespoon olive oil
                    • 1 teaspoon honey

                    WHAT TO DO:

                    1. Mash the banana in a bowl until there are no lumps.
                    2. Add olive oil and honey, mixing until well combined.
                    3. Apply the mask to damp hair, ensuring even coverage from roots to ends.
                    4. Cover with a shower cap and leave on for 30 minutes.
                    5. Rinse out thoroughly with cool water, then shampoo and condition as usual.

                    Tips For Using These Masks

                    • Be patient – it may take a few applications before you see significant improvements in your hair’s health and appearance.
                    • Perform a patch test before applying any new ingredients to your hair or scalp.
                    • Use these masks once a week for best results.

                    Additional Tips for High Porosity Hair Care

                    • Limit heat styling to prevent further damage.
                    • Use protective styling when possible to shield your hair from environmental stressors.
                    • Always use a heat protectant when heat styling is necessary.
                    • Be gentle with your wet hair, as it’s more prone to breakage.
                    • Consider incorporating regular protein treatments into your hair care routine.
                    Beauty hair
                    Can You Do A Keratin Treatment On Bleached Hair? The Ultimate Guide
                    Can You Do A Keratin Treatment On Bleached Hair? The Ultimate Guide

                    If you’ve ventured into the world of bleached hair and are now considering a keratin treatment, you’re in the right place.

                    Let’s explore whether these two hair processes can work together to give you the luscious locks you’re after.

                    The Bleach Effect: Understanding Your Hair’s Current State

                    First, let’s talk about what bleaching does to your hair. Bleaching opens up your hair cuticles and strips away both artificial and natural colours, along with a significant amount of your hair’s natural oils and proteins.

                    The result?

                    Hair that’s more porous, fragile, and often drier than before.

                    Keratin Treatments: A Potential Solution?

                    Now, let’s introduce keratin treatments. Keratin is a protein that’s naturally present in your hair, skin, and nails. Keratin treatments work by infusing your hair with this protein, aiming to smooth the hair cuticle, reduce frizz, and add shine.

                    According to a study, “Both the naturally damaged hair and those partially damaged by bleach treatment showed gain in their diameter after keratin treatment.’”

                    In fact, bleach-treated hairs increased to an average of 139 μm, a gain of nearly 49%.

                    To put this in perspective, that’s like your hair strands growing half as thick again!

                    And it’s not just about thickness. The study also noted a “significant improvement in the smoothness of the hair surface after the treatment”, making your hair so much easier to manage.

                    Sounds promising for bleach-stressed strands, doesn’t it?

                    This increase in diameter and smoothness could mean fuller-looking, more manageable hair that’s easier to style and less prone to tangling.

                    The Big Question: Can You Use Keratin On Bleached Hair?

                    The short answer is: YES, you can. However, there are some important factors to consider.

                    Bleached hair can actually benefit from a keratin treatment in several ways:

                    1. Damage Control: Keratin can help repair some of the damage caused by bleaching.
                    2. Moisture Retention: The treatment can help your hair retain moisture better.
                    3. Frizz Reduction: It can significantly reduce the frizz that often accompanies bleached hair.
                    4. Improved Manageability: Keratin can make your hair easier to style.

                    However, there are potential risks to be aware of:

                    Potential Risks To Consider

                    1. Further Damage: If your hair is severely damaged from bleaching, the heat used in keratin treatments could cause more harm.
                    2. Colour Changes: Some keratin treatments can slightly alter the colour of your bleached hair.
                    3. Protein Overload: Too much protein can lead to brittleness and breakage.
                    4. Allergic Reactions: Some people may be sensitive to the chemicals used in keratin treatments.

                    How To Safely Apply Keratin to Bleached Hair

                    If you decide to proceed with a keratin treatment, here’s how to approach it safely:

                    1. Assess Your Hair’s Health

                    Before considering a keratin treatment, evaluate your hair’s condition. If it’s breaking easily, feels gummy when wet, or is extremely dry and brittle, it might be best to postpone the treatment and focus on hair health first.

                    1. Consult a Professional

                    When it comes to chemically treating already processed hair, it’s best to seek professional help. A skilled stylist can assess your hair’s condition and recommend the best course of action.

                    1. Choose The Right Treatment

                    Not all keratin treatments are created equal. Some are gentler and more suitable for bleached hair. Ask your stylist about options like Brazilian Blowout, Cezanne, or Keratin Complex.

                    1. Prepare Your Hair

                    In the weeks leading up to your treatment:

                    • Deep condition regularly
                    • Avoid heat styling
                    • Use protein-rich hair masks
                    1. Timing is Key

                    If you’ve recently bleached your hair, wait at least two weeks before getting a keratin treatment. Your hair needs time to recover.

                    1. Aftercare is Crucial

                    Post-treatment care can significantly impact your results. Follow your stylist’s instructions carefully, which typically include:

                    • Waiting 48-72 hours before washing your hair
                    • Using sulphate-free shampoos
                    • Avoiding swimming in chlorinated water
                    • Avoiding hair ties and clips for a few days

                    What To Expect: The Results

                    If done correctly, a keratin treatment on bleached hair can provide:

                    • Smoother, shinier hair
                    • Reduced frizz
                    • Easier styling
                    • Healthier-looking locks

                    Remember, while the results can be impressive, it’s not a miracle cure. Your hair is still bleached and will require ongoing care.

                    Maintaining Your Treated Hair

                    To keep your hair looking its best after a keratin treatment:

                    1. Use Appropriate Products: Stick to sulphate-free, colour-safe shampoos and conditioners.
                    2. Heat Protection: Always use a heat protectant before styling.
                    3. Regular Trims: Keep those ends healthy with regular trims every 6-8 weeks.
                    4. Deep Conditioning: Make deep conditioning treatments a part of your routine.
                    5. Avoid Over-Washing: Try to extend the time between washes.

                    Alternatives to Keratin Treatments

                    If you decide a keratin treatment isn’t right for you, consider these alternatives:

                    1. Olaplex Treatments: These can help rebuild the bonds in your hair.
                    2. Leave-In Conditioners: For daily moisture and frizz control.
                    3. Hair Oils: A little can add shine and smoothness.
                    4. Silk Pillowcases: To reduce friction and breakage while you sleep.
                    5. Bond-Building Products: Look for at-home treatments that focus on repairing hair bonds.

                    Conclusion

                    Can you do a keratin treatment on bleached hair? Yes, but it requires careful consideration, professional help, and ongoing maintenance.

                    If done correctly, it can significantly improve the look and feel of your bleached hair.

                    FAQs

                    Q. How long does a keratin treatment last on bleached hair?
                    A. Typically, a keratin treatment can last 3 to 6 months on bleached hair, depending on your hair care routine.

                    Q. Will a keratin treatment darken my bleached hair?
                    A. It might slightly. Some keratin treatments can add a bit of warmth to your colour. Discuss this possibility with your stylist.

                    Q. How much does a keratin treatment cost?
                    A. On average, you can expect to pay anywhere from £150 to £300 for a keratin treatment in the UK. High-end salons in central London might charge £400 or more. Some salons offer mini keratin treatments or express versions which might cost less, starting around £90-£120.

                    Q. Can I bleach my hair after a keratin treatment?
                    A. It’s not recommended. Wait at least a month after your keratin treatment before considering any colour services.

                    Beauty hair
                    How To Treat Low Porosity Hair: 10 Care Tips
                    How To Treat Low Porosity Hair: 10 Care Tips

                    If you’ve ever felt like your hair is beautiful but impossibly difficult to deal with – you might be battling with low porosity hair.

                    Don’t worry, you’re not alone!

                    As someone who’s experienced these challenges firsthand, I’m here to share what I’ve learned about caring for low porosity hair.

                    From understanding the science behind it to discovering effective treatments, this guide will help you develop a hair care routine that works.

                    Let’s dive in and learn how to make your low porosity hair more manageable and healthy.

                    What Is Low Porosity Hair?

                    Before we jump into the care tips, let’s break down what low porosity hair actually is.

                    Think of your hair shaft as a pine cone. If it’s tightly packed together, barely letting anything in or out, that’s low porosity hair for you.

                    The cuticles of your hair are like overlapping scales, and in low porosity hair, they’re practically hugging each other.

                    This tight formation means that water, oils, and hair products have a hard time penetrating the hair shaft. It’s like trying to get into an exclusive club without being on the list – not impossible, but definitely a challenge!

                    Signs You Might Have Low Porosity Hair

                    Not sure if you’re in the low porosity club? Here are some telltale signs:

                    1. Your hair takes forever to get wet in the shower
                    2. Products tend to sit on top of your hair rather than absorbing
                    3. Your hair is prone to product buildup
                    4. It takes ages for your hair to air-dry
                    5. You often deal with dry hair, even after moisturizing

                    If you’re nodding along to these points, welcome to the club! Now, let’s get to the good stuff – how to treat your low porosity hair…

                    10 Game-Changing Care Tips for Low Porosity Hair

                    1. Embrace the Power of Warm Water

                    Remember how we said low porosity hair is like an exclusive club? Well, warm water is your VIP pass.

                    When washing your hair, use warm water to open up those tightly packed cuticles. This allows moisture and products to penetrate the hair shaft more easily.

                    But don’t go overboard with the heat though, extremely hot water can damage your hair and strip it of its natural oils.

                    1. Pre-poo Like a Pro

                    Pre-pooing is the act of applying oil to your hair before shampooing. This helps to protect your hair from the potentially drying effects of shampoo.

                    For low porosity hair, lightweight oils are your best friend. Try jojoba oil or grapeseed oil – they absorb easily without weighing down your hair.

                    1. Clarify Regularly

                    Product buildup is the arch-nemesis of low porosity hair.

                    All those products that don’t quite penetrate can accumulate over time, leaving your hair feeling heavy and looking dull.

                    Use a clarifying shampoo once a month to remove this buildup. Think of it as a reset button for your hair. Just be sure to follow up with a deep conditioning treatment to restore moisture.

                    1. Deep Condition with Heat

                    Deep conditioning is crucial for low porosity hair, but you need to add heat to the equation.

                    Apply your deep conditioner, then sit under a hooded dryer or use a heat cap for 20-30 minutes.

                    If you’re feeling fancy (or just don’t have a heat cap), wrap your hair in a warm, damp towel. The heat helps to lift the cuticles, allowing the conditioner to penetrate more deeply.

                    1. Try the ‘Green House Effect’

                    No, we’re not talking about climate change (though that’s important too!). The Green House Effect is a method of deep conditioning that works wonders for low porosity hair.

                    Here’s how it works:

                    1. Apply your favourite leave-in conditioner or oil to damp hair
                    2. Cover your hair with a shower cap or plastic bag
                    3. Wrap a warm towel around the cap
                    4. Leave it on overnight

                    The heat generated by your scalp, combined with the products, creates a mini greenhouse effect that helps to deeply moisturise your hair so you can wake up to softer, more manageable locks!

                    1. Layer Your Products

                    When it comes to low porosity hair care, think of your products like a delicious hair care sandwich. Start with the lightest, most water-based products and work your way up to the heaviest.

                    A good routine might look like this:

                    1. Leave-in conditioner
                    2. Lightweight oil
                    3. Cream
                    4. Gel or styling product

                    This layering technique helps to lock in moisture and ensures that each product has the best chance of being absorbed.

                    1. Embrace Protein-Free Products

                    While protein can be great for some hair types, low porosity hair often doesn’t need much additional protein.

                    In fact, too much protein can leave your hair feeling dry and brittle. Instead, look for moisturising, protein-free products to keep your hair hydrated without overloading it.

                    1. Steam It Up

                    Remember how warm water helps to open up your hair cuticles? Well, steaming takes that concept to the next level.

                    Invest in a hair steamer or create your own steam treatment at home. Apply your favourite deep conditioner, then sit in a steamy bathroom for 20-30 minutes. Your hair will drink up the moisture like a sponge absorbing water.

                    1. Be Patient with Air Drying

                    Low porosity hair takes its sweet time to dry. While it can be tempting to reach for the blow dryer, try to embrace air drying when you can.

                    Heat styling tools can be harsh on your hair, leading to damage and dryness over time.

                    If you must use heat, always use a heat protectant and keep the temperature on the lower side. Think of it like sunscreen for your hair – a little extra step that goes a long way in protection.

                    1. Don’t Overdo It

                    When it comes to low porosity hair care, less is often more.

                    It’s easy to fall into the trap of thinking that if a little product is good, a lot must be better. But too many products can overwhelm low porosity hair.

                    Use products sparingly and focus on techniques that help your hair absorb moisture. Quality over quantity is the name of the game here.

                    Creating Your Low Porosity Hair Care Routine

                    Now that we’ve covered the tips for taking care of low porosity hair, let’s put it all together into a hair care routine.

                    1. Start with a clarifying shampoo once a month to remove buildup.
                    2. On regular wash days, use warm water and a sulphate-free shampoo.
                    3. Apply a deep conditioner and use heat for 20-30 minutes.
                    4. Rinse with cool water to seal the cuticles.
                    5. Apply a leave-in conditioner to damp hair.
                    6. Layer on a lightweight oil and cream.
                    7. Style as desired, using minimal heat.
                    8. Allow your hair to air dry when possible.

                    Remember, consistency is key. Your hair didn’t become low porosity overnight, and it won’t transform overnight either.

                    Be patient and give your new routine a little time to work its magic.

                    Beauty hair
                    5 Foolproof Ways To Remove Green Tones From Bleached Hair
                    5 Foolproof Ways To Remove Green Tones From Bleached Hair

                    So, you took the plunge and went blonde, but now your hair’s giving off more mermaid vibes than Marilyn Monroe glamour? Don’t panic!

                    That greenish tint haunting your tresses is a common side effect of bleaching, but it doesn’t have to be your new permanent look.

                    Maybe you’ve been swimming in a chlorine-heavy pool, or perhaps your hair just decided to play a cruel prank on you.

                    Either way, that unwanted green hue can make you want to hide under a hat until your next salon appointment.

                    But before you resign yourself to looking like you lost a fight with a bottle of food colouring, take a deep breath. We’ve got your back – and your hair!

                    In this post, we’re exploring the world of hair chemistry (don’t worry, no lab coat required) to bring you five foolproof methods to kick that green tint to the curb.

                    From kitchen cupboard remedies to salon-worthy treatments, we’ll cover options for every budget and comfort level to remove green tones from bleached hair.

                    Ready to reclaim your blonde hair?

                    Let’s turn that green mean machine back into the luscious locks you’ve been dreaming of.

                    Why Does Bleached Hair Turn Green?

                    Before we dive into solutions, it’s helpful to understand why this green tint appears in the first place. The science behind it is actually quite simple.

                    According to the International Journal of Trichology, green hair “is a hair dyschromia characterized by green coloring of the hair due to insoluble copper deposits which fix to the cortex of the hair with “a priori” damage to the cuticle.”

                    You might think that should be no big deal but for people with bleached hair, those strands are more porous than natural hair, which means it’s more susceptible to absorbing minerals and other substances.

                    “The most frequent origin of this condition is direct contact with domestic running water or swimming pool water with a high copper content.” Over time, or with exposure to air and other oxidising agents, these copper ions oxidise.

                    The oxidation process turns the copper green – similar to how the Statue of Liberty turned green over time. This oxidised copper is what gives the hair its greenish tint.

                    How To Do A Strand Test

                    Before diving in and treating all your hair, always perform a strand test. This simple step can save you from potential hair disasters.

                    Here’s how to do it:

                    1. Choose a small, hidden section of hair, preferably near the nape of your neck or behind your ear.
                    2. Apply your chosen treatment to this small section, following the instructions as you would for your whole head.
                    3. Leave it on for the recommended time, then rinse and dry the strand.
                    4. Examine the results. Check for any adverse reactions like excessive dryness, breakage, or unexpected colour changes.
                    5. If you’re happy with the results and there’s no damage, proceed with treating your whole head. If not, try adjusting the method or consider a different treatment.

                    Remember, it’s better to spend a few extra minutes on a strand test than to risk damaging all your hair.

                    Now that we understand the cause of the dreaded green tint, and how to do a strand, let’s move on to the solutions.

                    5 Easy Ways To Remove Green Tint From Bleached Hair

                    1. Ketchup Cure
                      Yes, you read that right! The same condiment that goes on your fries can save your hair.
                    • How it works: Ketchup contains red pigments that neutralise green tones due to the principle of colour theory. Red and green are opposite on the colour wheel, so they cancel each other out. The acidity in ketchup also helps to break down mineral buildup.
                    • What to do: Apply ketchup to damp hair, let it sit for 15-30 minutes, then rinse and shampoo.
                    • Pro tip: Use a shower cap to avoid a mess (and to keep from craving burgers).
                    1. Baking Soda Blast

                    Time to raid your pantry for this powerful, yet gentle solution.

                    • How it works: Baking soda is a mild abrasive and has a high pH, which helps to open the hair cuticle. This allows it to effectively scrub away mineral buildup and chlorine deposits that cause the green tint.
                    • What to do: Mix baking soda with water to form a paste. Apply to damp hair, gently massage, and rinse after 2-3 minutes.
                    • Caution: Don’t overdo it – baking soda can be drying if used too often.
                    1. Vitamin C Vibes
                      Give your hair a dose of this immune-boosting vitamin.
                    • How it works: Vitamin C is ascorbic acid, which acts as a reducing agent. It breaks down the chlorine and mineral deposits that cause the green tint. It also helps to strip away some of the oxidized copper particles.
                    • What to do: Crush vitamin C tablets and mix with shampoo. Apply to damp hair, leave for 5-10 minutes, then rinse.
                    • Bonus: Your hair might smell citrusy fresh!
                    1. Apple Cider Vinegar Rinse
                      ACV isn’t just for your salad dressing anymore.
                    • How it works: ACV is acidic, which helps to balance the hair’s pH after exposure to alkaline substances like chlorine. It also helps to close the hair cuticle, making it smoother and less likely to trap minerals. The acidity can break down mineral deposits as well.
                    • What to do: Mix equal parts ACV and water. Use as a final rinse after shampooing.
                    • Heads up: The smell dissipates once your hair dries, we promise!
                    1. Professional Toning Treatment

                    When all else fails, it’s time to call in the pros.

                    • How it works: Professional toners contain pigments specifically designed to neutralise unwanted tones in hair. For green tints, a toner with red or violet pigments would be used to counteract the green, based on colour theory principles.
                    • What to do: Book an appointment with your stylist and let them work their magic.
                    • Pro tip: This is a great option if you’re nervous about DIY treatments.

                    Remember, prevention is key! Use a clarifying shampoo regularly and consider using a swim cap if you’re a pool enthusiast.

                    Beauty hair
                    Can You Use Apple Cider Vinegar To Lighten Hair?
                    Can You Use Apple Cider Vinegar To Lighten Hair?

                    What Is Apple Cider Vinegar?

                    Before we get into whether you can use apple cider vinegar to lighten your hair, let’s get to know our star ingredient a little better.

                    Apple cider vinegar, often called ACV, is a type of vinegar made from fermented apple juice. Here’s a quick breakdown:

                    1. How It’s Made: Fresh apples are crushed and their juice is extracted. This juice then undergoes two fermentation processes. The first turns the sugars into alcohol, and the second converts the alcohol into acetic acid.
                    2. Composition: ACV is mostly water (about 94%) and acetic acid (around 5-6%). It also contains other acids, vitamins, minerals, and antioxidants.
                    3. The “Mother”: Organic, unfiltered ACV contains something called “the mother” – strands of proteins, enzymes, and beneficial bacteria that give the vinegar a cloudy appearance.
                    4. pH Level: ACV is quite acidic, with a pH level typically between 2 and 3. This acidity is key to how it interacts with our hair.

                    For hair care purposes, it’s best to use raw, unfiltered, organic apple cider vinegar to ensure you’re getting all the beneficial properties without unnecessary additives.

                    Is Apple Cider Vinegar Safe To Use On Our Hair?

                    It’s pretty normal to be sceptical about putting any type of vinegar on your hair.

                    After all, if apple cider vinegar wasn’t as popular as it is, you probably wouldn’t consider it a go-to product for weight loss and clear skin either. But when used correctly, ACV can be a safe and effective treatment for your locks.

                    Hairstylist Adam Federico, R+Co Vice President of Technical Education says “Apple cider vinegar is wonderful in so many ways. It leaves hair looking healthy and shiny, and restores balance to an irritated scalp.”

                    However, it’s crucial to use ACV correctly to avoid any potential issues. Here are some key points to keep in mind:

                    1. Dilution is key: Never apply undiluted ACV directly to your hair or scalp. A good rule of thumb is to mix one part ACV with two to three parts water.
                    2. Frequency matters: Using ACV too often can potentially dry out your hair or irritate your scalp. Start with once a week and adjust based on how your hair responds.
                    3. Patch test: Before going all in, do a patch test on a small area of your scalp to check for any adverse reactions.
                    4. Rinse thoroughly: Always rinse your hair well after an ACV treatment to avoid any lingering vinegar smell.
                    5. Listen to your hair: If you notice any irritation, excessive dryness, or other negative effects, discontinue use and consult a professional.

                    Remember, while ACV can be beneficial for many people, everyone’s hair is different. What works wonders for your best friend might not be ideal for you. Pay attention to how your hair responds and adjust your routine accordingly.

                    As with any new hair care regimen, if you have concerns or pre-existing scalp conditions, it’s always a good idea to consult with a dermatologist or trichologist before incorporating ACV into your routine!

                    So, Can You Use Apple Cider Vinegar To Lighten Hair?

                    • Clarifying Action: Apple cider vinegar helps to remove build-up from hair products, hard water minerals, and natural oils. This deep cleansing can make your hair look brighter and feel lighter.
                    • Cuticle Effect: ACV’s acidity can help to close the hair cuticle. When the cuticle lies flat, hair reflects more light, appearing shinier and potentially lighter.
                    • Subtle Lightening: While the clarifying action can make the hair appear lighter, ACV can also cause some actual lightening over time. This is due to its mild acidic nature, which can gradually break down some of the hair’s pigment.
                    • Enhanced Sun Lightening: ACV can make your hair more susceptible to sun bleaching. When you use ACV and then expose your hair to sunlight, you might notice more pronounced lightening effects.

                    How To Use ACV for Hair Lightening

                    Alright, let’s get to the fun part – actually using apple cider vinegar to lighten hair. Here’s your step-by-step guide to becoming a kitchen beautician:

                    1. The Mix: Start by diluting your ACV. A good rule of thumb is one part ACV to two parts water. If you have sensitive skin or a sensitive scalp, you might want to dilute it even more.
                    2. The Application: After shampooing (and skip the conditioner this time), pour the mixture over your hair. You can use a spray bottle for more even application, or just go full-on salon and use an applicator brush.
                    3. The Wait: Let it sit for about 15 minutes. This is your perfect excuse to catch up on that TikTok you’ve been meaning to watch or finally reply to those texts you’ve been ignoring.
                    4. The Rinse: Rinse it out with cool water. The cool water helps to close the cuticle and lock in the effects.
                    5. The Finale: Style as usual.

                    The Pros and Cons Of Using Apple Cider Vinegar For Hair

                    Like any beauty treatment, using apple cider vinegar to lighten hair comes with its pros and cons. Let’s break it down:

                    Pros:

                    1. It’s natural and chemical-free
                    2. Super budget-friendly
                    3. Can improve overall hair health
                    4. Gentle lightening effect
                    5. May help with dandruff and scalp issues

                    Cons:

                    1. The smell (It’s not exactly a rose garden)
                    2. Results can be unpredictable
                    3. May be drying for some hair types
                    4. Not as effective on darker hair colours
                    5. Requires consistency for noticeable results

                    Other Benefits of ACV for Hair

                    We kind of touched on it earlier, but ACV might be working some other magic on your mane too. Here’s how:

                    1. Shine Booster: Remember how we talked about ACV closing the hair cuticle? This can lead to seriously shiny hair. We’re talking glossy magazine cover vibes.
                    2. Dandruff Fighter: The antimicrobial properties of ACV can help combat the yeast that often causes dandruff.
                    3. Detox for Your Locks: If you’re a product junkie, ACV can help remove buildup from styling products, hard water minerals, and other gunk that weighs your hair down.
                    4. Frizz Tamer: By balancing your hair’s pH, ACV can help smooth the cuticle, potentially leading to less frizz.
                    5. Scalp Health: A healthy scalp means healthy hair. ACV’s balancing act can create a better environment for hair growth.

                    Now, let’s not forget the foundation of fabulous hair – a healthy scalp. While boosting your hair colour might be your main goal, neglecting your scalp is like forgetting to water your garden and expecting prize-winning roses.

                    Dr Masood Munir tells Sheerluxe, “Apple cider vinegar contains AHA (alpha hydroxy acid) which has natural antibacterial, exfoliating and anti-dandruff properties. Therefore, it’s a great ingredient to clean up your scalp. Moreover, apple cider vinegar is an anti-inflammatory, so it can be used to calm a sensitive scalp, while also being gentle enough not to strip your hair of its natural nutrients.”

                    The Bottom Line: To ACV or Not to ACV?

                    So, should you jump on the apple cider vinegar to lighten hair bandwagon? Well, that depends on what you’re looking for.

                    If you want a natural, gentle way to potentially lighten your hair while improving its overall health, then ACV might be the way to go. It’s especially great if you’re looking for a subtle change or want to enhance your natural highlights.

                    On the other hand, if you’re dreaming of a dramatic colour change or have very dark hair, you might want to stick with more traditional lightening methods. ACV is more of a supporting actor than the star of the show when it comes to major hair transformations.

                    Remember, beauty is all about experimentation and finding what works for you. So why not give it a try? Worst case scenario, your hair smells like salad dressing for a day. Best case scenario? You discover a natural, affordable way to give your hair a little extra oomph!

                    Beauty hair
                    Step-By-Step Guide On How To Make Rice Water For Hair Growth
                    Step-By-Step Guide On How To Make Rice Water For Hair Growth

                    When it comes to beauty and wellness, nature often holds the most powerful solutions!

                    As someone who gravitates toward natural alternatives – from the food on my plate to the products in my skincare routine – I couldn’t help but be fascinated by an ancient hair growth remedy that’s been making waves: rice water.

                    The Ancient Roots of Rice Water

                    This ‘Rapunzel’ hack is a beauty secret that has been turning heads for centuries. Literally.

                    Japanese women of the Heian Period (794-1185 AD) had floor-length, glossy hair, all thanks to Yu-Su-Ru (their rice water rinse).

                    According to a 2010 study in the International Journal of Cosmetic Science, this wasn’t just a coincidence – rice water significantly increases hair elasticity and reduces surface friction.

                    The Science Behind the Magic: How Does Rice Water Actually Work?

                    Think of rice water as a nutrient cocktail for your hair. Here’s what makes it so powerful:

                    • Amino proteins
                    • Vitamin E
                    • B vitamins
                    • Minerals
                    • Amino acids
                    • Antioxidants

                    In fact, rice water contains a remarkable antioxidant inositol that actively promotes hair growth while nourishing your strands from root to tip.

                    According to Healthline, studies have found that inositol is able to penetrate damaged hair and repair it from the inside out. It even protects hair from future damage.

                    What Is The Best Rice To Make Rice Water?

                    Both conventional and organic rice will contain some amounts of fertilisers and pesticides!

                    So if you want to avoid that exposure altogether, Mielle Organics suggests using Basmati rice, “It’s imported from countries like India and Pakistan, and they don’t have the arsenic problem.”

                    The Truth About Possible Side Effects: What You Need to Know

                    To keep it real – rice water isn’t for everyone. Some people experience:

                    • Dryness
                    • Protein overload
                    • Scalp buildup
                    • Breakage

                    This typically affects those with low porosity hair, due to rice’s high starch content. Don’t worry though – you can still use it! Just limit the application to once weekly!

                    DIY Rice Water Treatment: Step-by-Step Guide

                    STEP 1: Rinse the rice
                    Take 1/2 a cup of rice and rinse with water to remove impurities such as dirt and dust. You can use a strainer for this.

                    STEP 2: Soak the rice
                    Using two to three cups of water, stir the rice in a bowl and leave to soak for 30 minutes until the water becomes cloudy (but it can be left for up to 24 hours).

                    STEP 3: Strain the rice
                    After you’ve allowed your rice to soak, strain it and keep the water in either a plastic container or a mason jar.

                    STEP 4: Shampoo
                    Next, shampoo your hair. You may want to try using a sulphate-free shampoo if you suffer from dryness or have colour-treated hair.

                    STEP 5: Apply the rice water
                    When you’ve rinsed out the shampoo, apply the rice water (as you would conditioner) massaging it gently into your scalp and hair strands. Leave it on for 20 minutes.

                    STEP 6: Finish with a conditioner
                    After you’ve thoroughly rinsed your hair, complete this routine with a good hair conditioner of your choice.

                    Storage Tip: Keep your rice water in the refrigerator and use within 7 days. If it smells funky, make a fresh batch!

                    Beauty hair