How to prep skin for a fresh daylight base
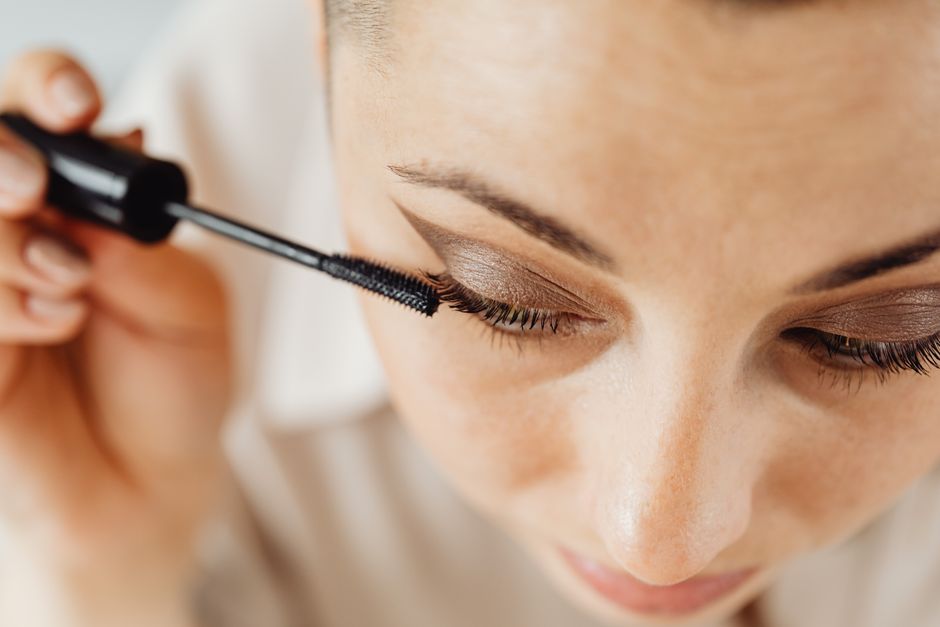
Good prep is a short sequence, not a shelf full of products. I use this order because it gives makeup a smooth surface without turning the face greasy. The process takes about ten minutes if the skin is already clean.
The five-minute prep order
- Cleanse or rinse away overnight oil, then pat the face dry instead of rubbing it.
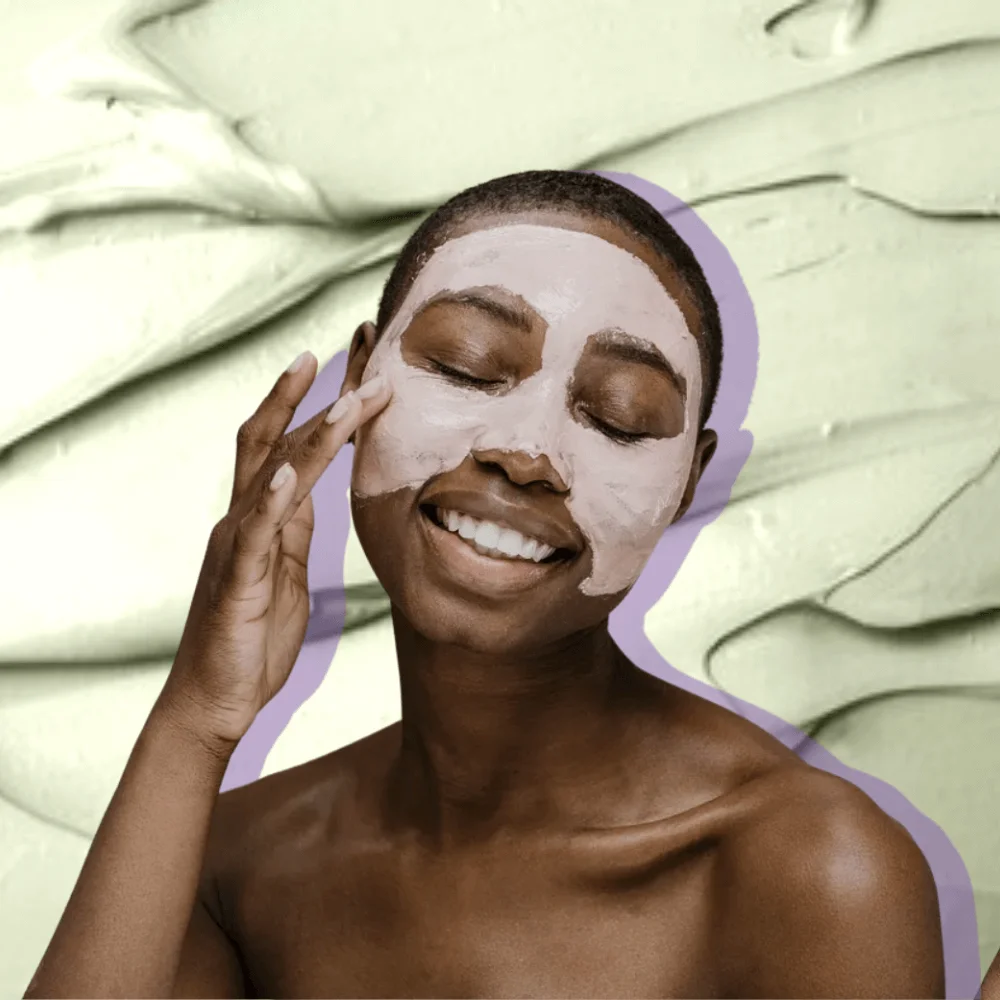
- Apply a light hydrating layer to the cheeks, around the mouth, and under the eyes. Use less on the forehead and nose.
- Press moisturizer into dry areas and wait two minutes. If the skin still feels tight, add a small amount only to those areas.
- Apply broad-spectrum sunscreen in an even layer. Let it sit for at least five minutes before foundation.
- Touch the face with clean fingers. If it feels wet or tacky, press away excess with a tissue before starting makeup.
Where primer earns its place
Primer is useful when it solves one clear problem. A smoothing formula can soften the look of enlarged pores around the nose, while a gripping formula can help makeup stay on a humid March day. Do not spread primer over every inch of the face by habit. That can create too many film layers and make the base roll when you blend. Apply it only to the area that needs it, usually the inner cheeks, nose, or chin.
Skip extra exfoliation on the morning of an important event. Scrubbing flaky skin can leave redness that needs more foundation, which creates the heavy finish you wanted to avoid. The best verdict here is firm: calm, settled skin gives you a better daylight base than aggressive prep.
How to apply foundation without losing skin texture
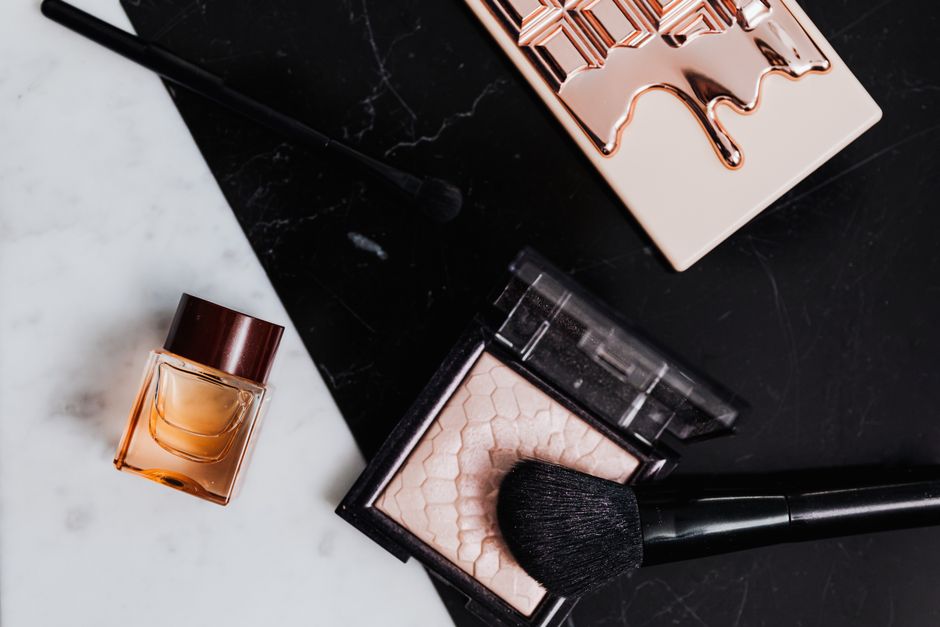
My strong opinion: use your fingers for the first layer. Warm fingertips spread a small amount farther than a dry sponge, and they help you feel when you have put on too much. A brush is useful for targeted blending, but starting with a dense brush often creates a thicker coat than daylight needs.
The three-zone application method
Put half a pump of foundation on the back of your hand. Tap it across the center of the face first: beside the nose, around the mouth, and across the cheeks where redness usually sits. Press and spread outward toward the hairline. The outer face needs very little product, so let the remaining film fade across the jaw rather than drawing a visible foundation edge.
With Maybelline Fit Me Matte + Poreless, I use a damp sponge only after the first layer has settled. With L’Oréal True Match Nude Hyaluronic Tinted Serum, fingers are usually enough because the formula moves easily. NARS Light Reflecting Foundation benefits from a thin brush layer when you want more even coverage, but I still keep the product mainly in the center of the face.
How much coverage to add
Wait two minutes before deciding the base needs more. Then add a pinhead-sized amount only to the red or uneven spots. Do not apply another full layer across the entire face. That second full layer is the most common reason makeup looks obvious in daylight. If the base turns patchy during blending, stop adding product and press the area with a clean, slightly damp sponge. The problem is usually too much friction or too much skincare underneath, not too little foundation.
For an easy routine, use the Rare Beauty Positive Light Tinted Moisturizer on the perimeter and a small amount of NARS Light Reflecting Foundation only where you need extra coverage. That combination gives a softer edge than full-coverage foundation everywhere.
How to place concealer, blush, and powder for real skin
Base makeup starts to look fresh when the face has visible dimension. The goal is not to cover every natural shadow. It is to brighten selected areas, add color where the face naturally flushes, and control shine where it distracts from the rest of the makeup.
Conceal the shadow, not the whole under-eye
Kosas Revealer Concealer costs about $30 and has enough coverage for a small amount under the eyes. I place it at the inner corner, the deepest part of the shadow, and any remaining redness beside the nose. I leave the outer half of the under-eye mostly bare. That keeps the face from developing a pale, heavy crescent when sunlight hits from above.
If you prefer a lighter look, Rare Beauty Positive Light Under Eye Brightener costs about $26 and gives a thinner, brighter effect. It is the better choice for mild darkness, but not for covering strong discoloration. My verdict: use Kosas for targeted correction and Rare Beauty for naturally even skin. Neither product needs a full triangle of concealer.
Use color before powder
Cream blush should go on before powder, slightly above the apples of the cheeks and blended toward the temples. A muted rose or soft peach usually looks more believable in cool March light than a very pale pink. Add a small amount, step beside a window, and check the result before adding more.
Powder belongs on the sides of the nose, inner cheeks, center forehead, and chin if those areas become shiny. Leave the outer cheeks and high points mostly alone. MAC Fix+ costs about $34 and can soften a powdery surface, but it cannot repair a thick base. Powder placement matters more than powder quantity: use a small brush, press rather than sweep, and stop when the shine is controlled.
Daylight makeup mistakes: quick questions with clear fixes
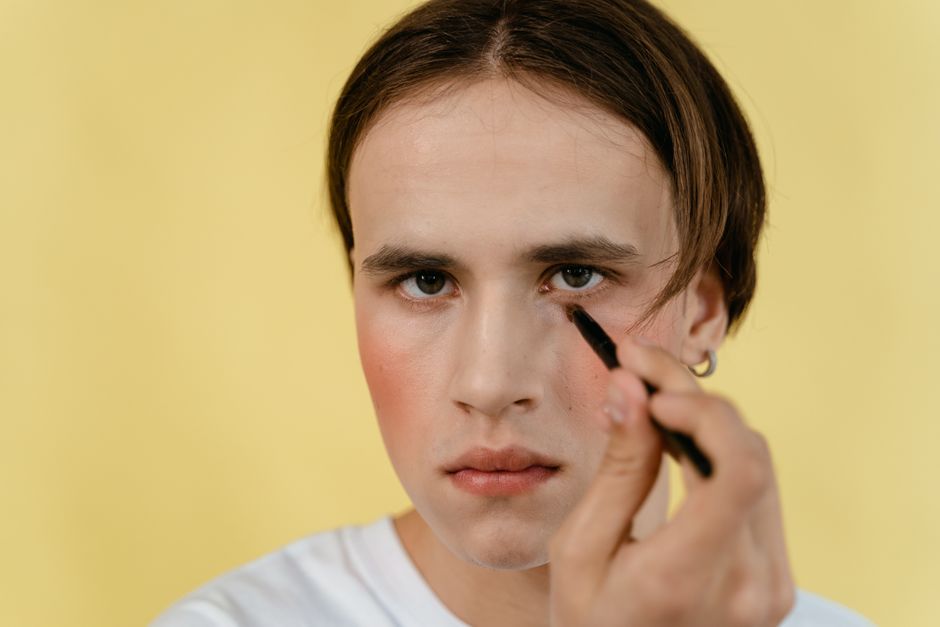
These are the problems I see most often when a base looks fine indoors but fails outdoors. Each one has a simple correction.
Why does my foundation look orange beside a window?
The shade is too warm, the sunscreen underneath is leaving a cast, or the bathroom light hid the mismatch. Check the jaw and neck in daylight before buying. If the foundation is only slightly too warm, use less product around the jaw and keep blush neutral. If the mismatch is obvious, do not try to fix it with pale powder. Buy a better shade instead. Maybelline Fit Me offers many low-cost shade options, so it is the practical replacement when testing color is the main problem.
Why does my base separate around my nose?
Usually there is too much skincare, oil, or rubbing in that area. Press away excess moisturizer, use half the foundation amount, and blend from the nose outward. A thin layer of e.l.f. Power Grip Primer costs about $10 and can help makeup hold around the nostrils, but it is not a cure for heavy layers. If a gripping primer makes the area roll, remove it from your routine. Buy a simpler base rather than adding another product.
Should I buy a full-coverage foundation for redness?
Not automatically. Full coverage hides redness quickly, but it also makes texture more visible and leaves less room for natural skin to show. The better buy for most March routines is a medium foundation such as NARS Light Reflecting Foundation, paired with small amounts of Kosas Revealer Concealer. Choose full coverage only when you need the same level of correction across most of the face. For isolated redness, spot-concealing is the cleaner solution.
My March base routine by skin type
The best routine changes with the surface you are starting with, but the priority stays the same: light coverage in daylight, targeted correction, and powder only where it earns its place.
Three routines that work
| Skin situation | Base plan | Best product choice |
|---|---|---|
| Dry or tight skin | Hydrating prep, thin serum foundation, cream blush | L’Oréal True Match Nude Hyaluronic Tinted Serum |
| Combination skin | Light moisturizer, controlled T-zone, satin blush | Maybelline Fit Me Matte + Poreless |
| Redness or uneven tone | Medium base, spot concealer, light powder | NARS Light Reflecting Foundation with Kosas Revealer Concealer |
| Good skin days | Minimal tint, concealer only where needed | Rare Beauty Positive Light Tinted Moisturizer |
When not to buy another base
Do not buy a new foundation if the current shade matches and the real problem is flaky prep, too much powder, or applying a full pump everywhere. Fix the routine first. Buy a different product when the finish consistently breaks apart, the shade is wrong in daylight, or the coverage level forces you to use more than you want.
My specific recommendation is the L’Oréal True Match Nude Hyaluronic Tinted Serum for a fresh March base on dry or normal skin, applied with fingers in a thin center-face layer and finished with targeted Kosas concealer. If your T-zone becomes shiny within a few hours, choose Maybelline Fit Me Matte + Poreless instead and powder only the nose, forehead, and chin. That combination gives the most believable daylight result for the least money and the fewest layers.