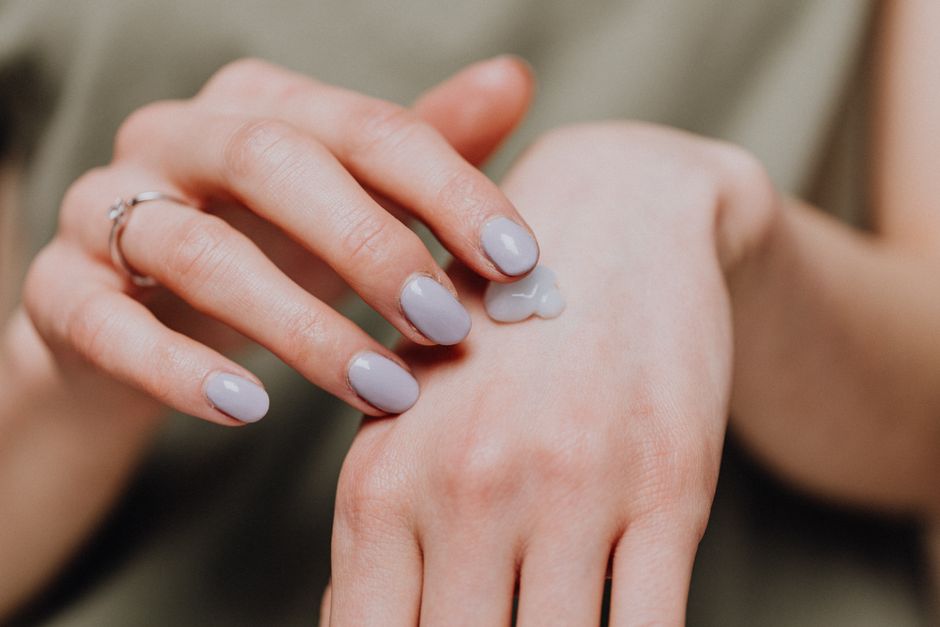
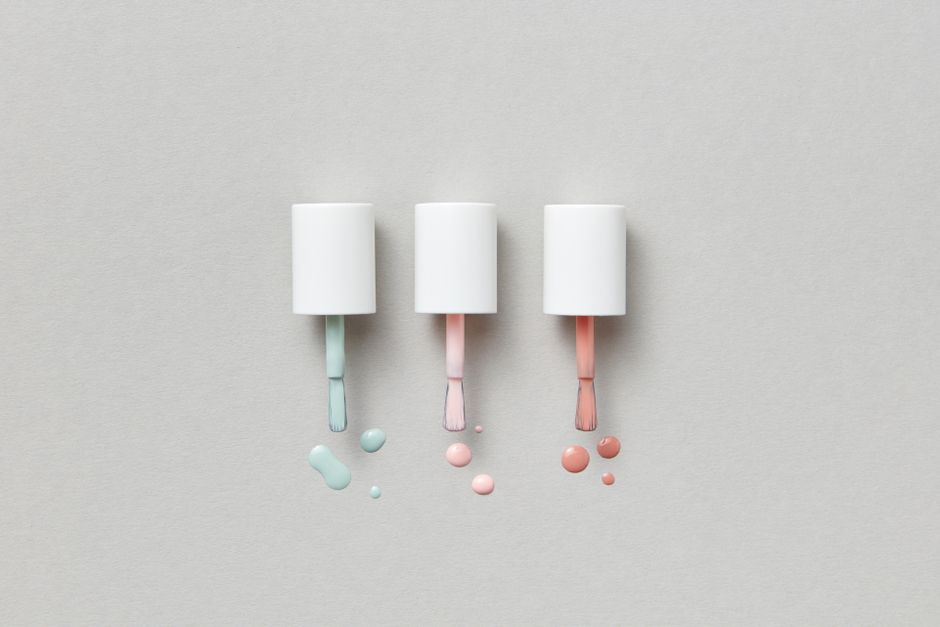
How should you choose a neat summer shade for your skin tone?
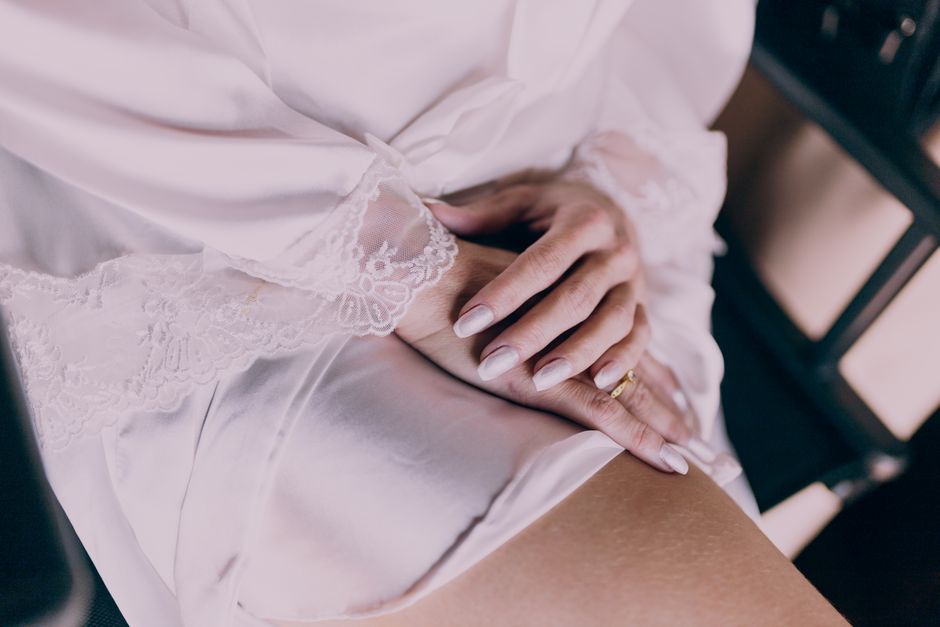
Pick the colour that gives your hands gentle contrast, not the colour that copies them exactly. When polish is too close to the skin, the manicure can look washed out. When it is far darker or brighter, every gap at the sidewall becomes easier to see. Use the table below as a starting point, then test one nail in daylight before painting all ten.
| Skin appearance | Fresh shades to test | Finish that looks neat | Common problem |
|---|---|---|---|
| Very fair or pink-toned | Rosewater pink, soft peach, pale blue | Sheer or cream | Yellow can look harsh if it is too green |
| Fair to medium neutral | Butter yellow, apricot, milky white | Glossy cream | White can look streaky after one coat |
| Medium olive or golden | Warm peach, pistachio, tomato red | Jelly or satin cream | Blue-grey shades may make hands look dull |
| Tan or deep warm | Water blue, coral, tangerine, pink-red | Opaque cream or high shine | Very pale beige may disappear |
| Deep neutral or cool | Periwinkle, raspberry, clean white | Opaque cream | Thin pastel layers may look patchy |
Use undertone as a tie-breaker
If two colours look equally good, hold the bottles beside your wrist in natural light. Pink, blue, and berry shades usually suit cooler undertones. Peach, coral, yellow, and orange-red shades usually suit warmer undertones. Neutral undertones can wear both, but the finish still matters. A cool pastel with a grey base may look sophisticated, while a warm pastel with a yellow base may look playful.
Test for neatness, not just beauty
Paint one thin coat on the nail you use most when typing or opening packaging. Wait for it to dry, then check the colour beside a white shirt and a dark top. If the shade looks good with both, it has useful range. Also check the edge after washing your hands. A colour that makes small dry patches or ragged cuticles look prominent may need a sheer finish or extra cuticle care.
How do you apply summer nail colour without messy edges?
Thin layers create a neater manicure than one thick layer. The goal is not to flood the nail with polish. It is to build a smooth film while leaving the skin around the nail untouched. Set aside about 25 minutes for colour and drying. Rushing the final five minutes causes most dents, fingerprints, and smudged sidewalls.
Step 1: Prepare the shape and surface
File all nails in the same direction with a fine file. A short squoval shape is the easiest to keep tidy because its corners resist snagging while the straight edge gives colour a clean frame. Keep the free edge between 0 and 3 millimetres long if you want a low-maintenance result. Wash away dust, dry your hands fully, and wipe each nail with a lint-free pad lightly dampened with rubbing alcohol. Do not apply hand cream immediately before polish because oil can make the colour separate.
Step 2: Paint three narrow sections
Place the brush slightly below the cuticle, press gently until the bristles fan out, and pull toward the tip. Make one stroke down the centre, then one on each side. Leave a hairline gap around the cuticle rather than trying to touch the skin. That tiny gap makes the manicure look deliberate and gives the polish room to wear without lifting from the edge.
Wait two to three minutes before the second coat. Pastels may need two or three thin coats, while sheer pinks often look better after two coats than after one thick coat. Cap the free edge by running the almost-empty brush across the tip. This reduces water entry and slows tip wear.
Step 3: Clean the border and protect the finish
Dip a small flat brush into polish remover and trace the sidewalls while the polish is still soft. Use a light touch; scrubbing can pull colour away from the nail. Apply top coat after the second colour layer has settled for a few minutes. Keep the top coat away from the skin, then add a little cuticle oil once the surface feels firm.
Common mistakes are easy to prevent. Do not cut live cuticle tissue to make the base look larger. Do not shake the bottle hard before painting, because bubbles can appear in the finish; roll it between your palms instead. Do not use a thick coat to hide ridges. Smooth the surface with a ridge-filling base layer, let it settle, and then use thin colour coats. For a neat early-summer look, clean edges matter more than complicated nail art.
Which nail polish formulas give the cleanest early-summer result?

For a tidy manicure, choose a formula that matches how often you can repaint. Sheer polish forgives uneven application but may need more layers. Opaque cream gives the strongest colour but exposes brush marks. Quick-dry polish saves time but can become thick in the bottle sooner. These are practical trade-offs, not signs that one formula is always better.
| Product | Colour direction | Typical US list price | Size | Best use |
|---|---|---|---|---|
| OPI Nail Lacquer Bubble Bath | Sheer pink | $12.99 | 15 mL | Low-contrast, office-friendly nails |
| Essie Gel Couture Fairy Tailor | Soft pink-beige | $13.99 | 13.5 mL | Longer wear with a polished shine |
| Zoya Nail Polish Bela | Pale pink cream | $12.00 | 15 mL | More visible colour on short nails |
| Sally Hansen Insta-Dri Petal Pink | Bright pale pink | $6.99 | 13.3 mL | Fast application on a small budget |
Best formula for a barely-there manicure
OPI Nail Lacquer Bubble Bath is the strongest choice when you want your nails to look clean rather than obviously painted. Its soft pink direction hides tiny colour gaps better than a stark white. Use two coats for a translucent finish or three very thin coats if you want a more even milky effect. It is not the best option for covering heavy staining in one pass.
Best formula for colour that shows on short nails
Zoya Nail Polish Bela wins when you want a clear pink manicure without a glassy, almost invisible result. Its pale cream look gives short nails definition. Choose Essie Gel Couture Fairy Tailor instead when wear time matters more than the lowest price. For the quickest budget application, Sally Hansen Insta-Dri Petal Pink is the practical pick, but work in thin strokes and close the bottle between nails because quick-dry formulas can drag when exposed to air.
Early-summer nail colour questions, answered
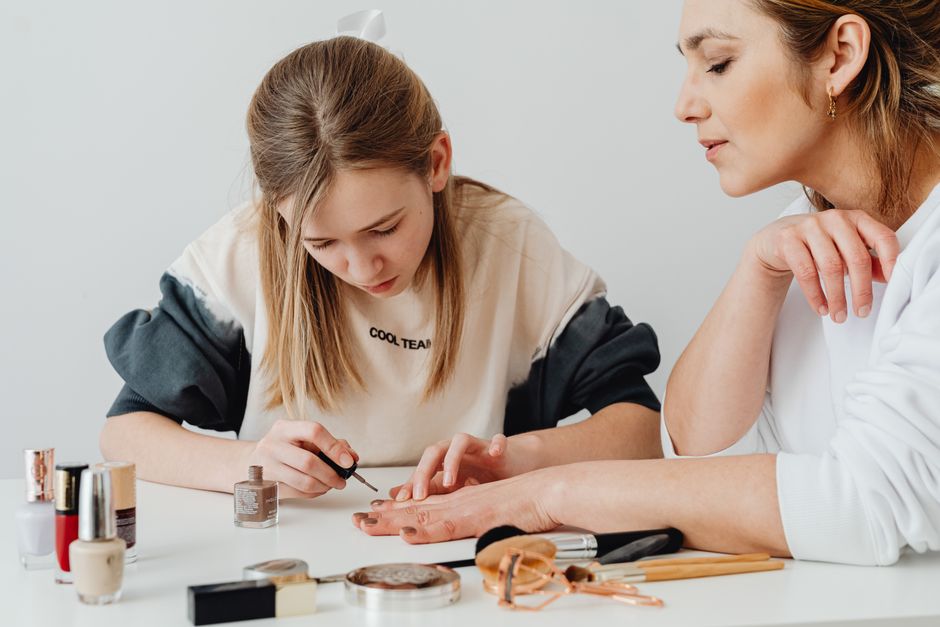
Are pastel nails hard to keep neat?
Pastels are not hard because of the colour itself; they are hard because many formulas contain pale pigment that settles unevenly. Use a smooth base, wipe most polish from one side of the brush, and apply two thin coats instead of one heavy coat. Butter yellow and pale blue usually look tidier with a glossy finish, while a matte top coat can highlight brush marks and dry skin. If a pastel still looks streaky after two coats, stop adding layers and switch to a sheerer colour. More polish will not fix an uneven surface.
What colour should you choose if your nails chip quickly?
Choose sheer pink, peach, or a soft jelly red. These colours hide small chips at the tip better than black, navy, or dense white. OPI Bubble Bath is the safest named pick for low-maintenance wear, while a sheer peach gives a warmer early-summer effect. Keep the nails short, cap the free edge, and add a fresh layer of top coat after two days. If your nail tips split, do not buy a longer-wear polish as the main fix; shorten the nails and protect them while they grow.
When should you skip a bright summer colour?
Skip high-contrast shades when the nails are peeling, badly stained, or surrounded by cracked skin. Bright colour will draw attention to every rough edge and may catch on peeling layers. Use a sheer neutral for a week, file snags smoothly, and moisturise the surrounding skin before returning to coral, blue, or yellow. If you dislike repainting, skip delicate pastels and choose a medium peach or pink-red instead. Those shades give the fresh early-summer effect while staying readable as they fade.