Most holiday nail tutorials assume you have a drawer full of dotting tools, striping tape, and the patience of a saint. You don’t. And that’s fine.
Here’s the truth: three designs — a single candy cane stripe, a matte red with one snowflake, and a glitter gradient — cover 90% of holiday occasions. They take less than 20 minutes total. No salon visit required.
Below are the exact steps, the specific polishes that make each design work, and the two mistakes that ruin simple holiday nails (and how to avoid them).
Why Most Holiday Nail Art Fails: The Two Mistakes You Must Avoid
Simple designs fail for two reasons, neither of which is lack of skill.
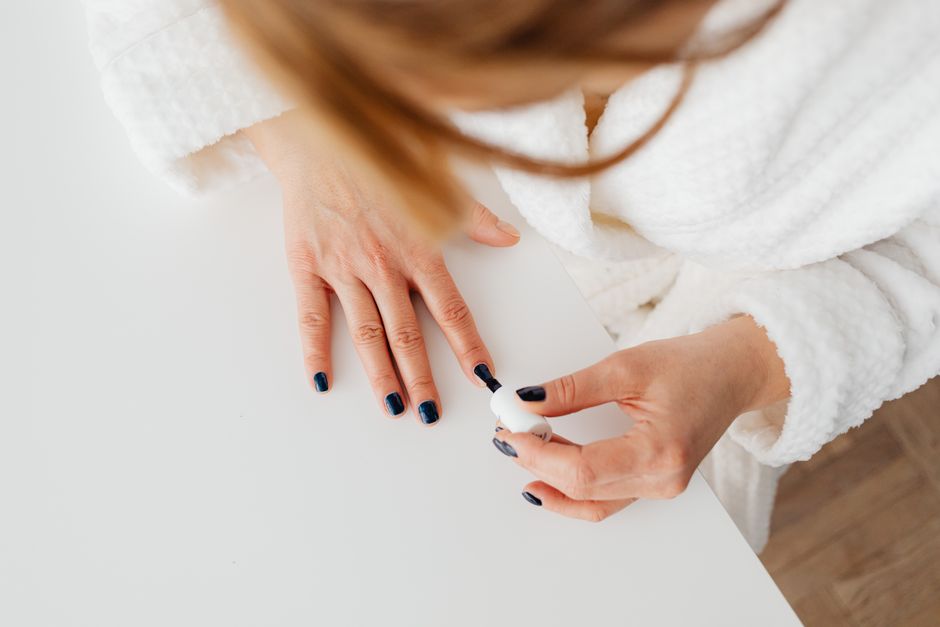
Mistake one: thick polish layers. A single thick coat of red glitter polish takes 45 minutes to dry fully. You smudge it, start over, and the whole thing takes an hour. The fix: two thin coats. Apply the first coat, wait 90 seconds, apply the second. Dries in 8 minutes.
Mistake two: skipping the base coat. Without a ridge-filling base coat like Sally Hansen Hard as Nails ($4.49), the color looks patchy after one coat. You add a third coat, which never dries. Then it chips the next morning.
One more thing: don’t use nail polish thinner on glitter polishes. It separates the glitter from the suspension base. Buy a fresh bottle instead. The OPI Glitter Polish ($12.50) lasts about 18 months before the consistency changes.
That’s it. Fix those two things and any simple design works.
Design 1: The Single Candy Cane Stripe (5 Minutes Per Hand)
This design looks like you spent 30 minutes. You didn’t.
What you need:
- White base: Essie Blanc ($9.00) — two thin coats
- Red stripe: OPI Big Apple Red ($12.50)
- A nail art brush with a pointed tip (the Beauty Secrets Nail Art Brush Set costs $6.99 for 5 brushes)
- Top coat: Seche Vite Dry Fast Top Coat ($9.99)
Steps:
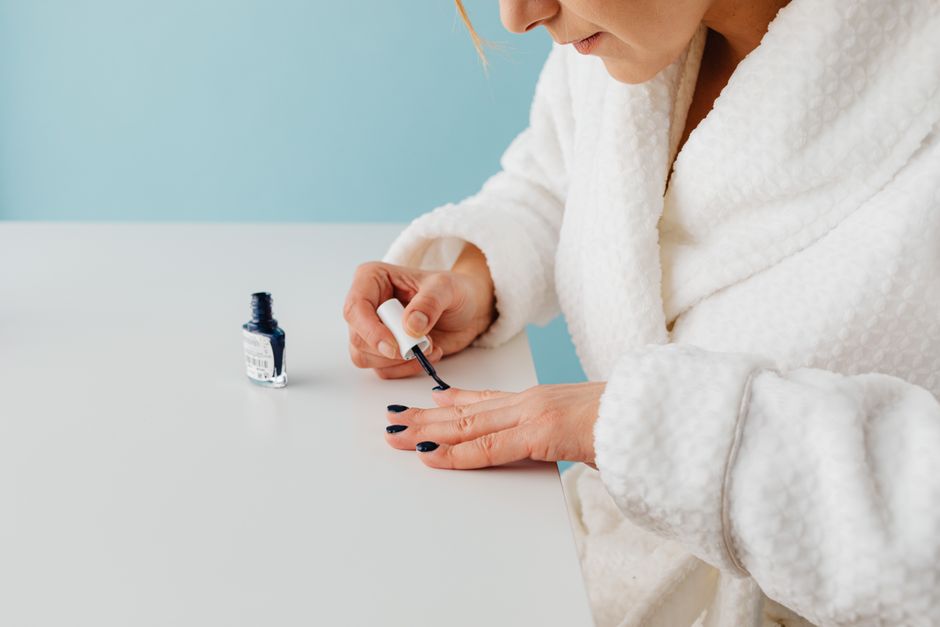
- Apply two thin coats of white polish. Let dry 3 minutes.
- Dip the art brush into the red polish. Wipe excess on the bottle rim — you want a thin bead, not a drop.
- Starting at the cuticle, draw one diagonal line toward the tip. Angle it 45 degrees from the center of the nail.
- Draw a parallel line 2mm away. Fill the space between them.
- Apply top coat immediately while the red is still wet. This prevents the stripe from lifting.
The common failure: The stripe bleeds into the white. Fix: let the white base dry a full 5 minutes. Touch it. If it’s tacky, wait another 2 minutes.
Verdict: This is the best design for beginners. The stripe hides uneven brushwork. Even if the line wobbles, it reads as “intentional handmade look.”
Design 2: Matte Red with a Single Snowflake (8 Minutes Per Hand)
Matte nails are trending for winter 2026. The trick is the top coat, not the polish itself.
What you need:
- Red base: Zoya America ($10.00) — a blue-based red that doesn’t lean orange
- Matte top coat: OPI Matte Top Coat ($11.00)
- White polish for snowflake: Sally Hansen White On ($4.49)
- A toothpick or bobby pin
Steps:
- Apply two thin coats of red polish. Let dry 5 minutes.
- Apply one coat of matte top coat. Let dry completely (about 4 minutes).
- Dip the toothpick tip into white polish. Dot six small dots in a circle near the cuticle (one at 12 o’clock, then 2, 4, 6, 8, 10).
- Connect the dots with thin white lines using the toothpick edge.
- Apply another matte top coat over everything. This seals the snowflake and keeps the matte finish uniform.
Why this works: The matte finish hides any minor bubbling in the red polish. Glossy red shows every imperfection. Matte doesn’t.
Verdict: Best for people who hate glitter cleanup. No glitter means no fallout on your clothes or face.
Design 3: Glitter Gradient from Cuticle to Tip (7 Minutes Per Hand)

This is the fastest design. It also hides nail growth better than any other holiday look.
What you need:
- Base color: Essie Mademoiselle ($9.00) — a sheer pink that matches your natural nail
- Glitter: China Glaze Glittering Garland ($8.50) — fine red and gold glitter
- A makeup sponge wedge
- Top coat: Seche Vite
Steps:
- Apply one coat of sheer pink base. Let dry 2 minutes.
- Paint a stripe of glitter polish onto the sponge wedge. Don’t overload it — you want a thin layer.
- Dab the sponge onto the nail tip. Start at the tip and work backward toward the cuticle, using less pressure as you move.
- Repeat on each nail. The sponge leaves a textured surface.
- Apply one thick coat of top coat. This smooths the texture and blends the gradient.
The failure mode: The glitter looks patchy. Fix: apply the glitter in two thin layers on the sponge, letting each dry 30 seconds. The second layer fills the gaps.
Verdict: Best for people who want a polished look with zero freehand drawing. No brush skills required.
Quick Comparison: Which Design Fits Your Holiday Schedule?
| Design | Total Time | Skill Level | Best For | Chipping Risk |
|---|---|---|---|---|
| Candy cane stripe | 10 minutes | Beginner | Christmas Eve dinner | Low (top coat seals stripe) |
| Matte red + snowflake | 16 minutes | Intermediate | Office holiday party | Medium (matte shows wear faster) |
| Glitter gradient | 14 minutes | Beginner | Multiple events (hides regrowth) | Low (glitter hides chips) |
The glitter gradient lasts longest — up to 7 days without visible wear. The matte red shows tip wear by day 3. Plan accordingly.
When Simple Nail Art Isn’t the Right Choice

Simple designs work for most holiday situations. But there are three scenarios where you should skip them.
Scenario one: you have an event where your hands are photographed. Engagement parties, wedding receptions, posed family photos. In those cases, a professional gel manicure at a salon ($35-$55) gives a flawless finish that simple home designs can’t match. The lighting in photos shows every uneven edge.
Scenario two: you have less than 10 minutes total. Including drying time. If you’re rushing out the door, don’t attempt any design. One coat of a quick-dry polish like Sally Hansen Insta-Dri ($5.99) in a solid red or green gives a cleaner look than a rushed stripe.
Scenario three: your nails are short and bitten. Simple designs with stripes or snowflakes draw attention to the nail shape. If your nails are shorter than 3mm past the fingertip, a solid glossy color or a sheer nude looks better. The Essie Gel Couture line ($12.50) in a dark berry shade gives a polished look without drawing attention to nail length.
The tradeoff is real. Simple home nail art saves money and time. But it doesn’t replace a salon finish for high-stakes events. Know which situation you’re in before you pick up the brush.